
You’ve set up a slew of event types and you’re eager to get booking, but you see the “Communications” section in each of your event type’s settings and aren’t sure where to begin.
For some background, when setting up your Calendly event types, you have the option to notify your invitees of new bookings using either calendar invitations or email confirmations. There are pros and cons to each option depending on your specific use case, so here’s a guide to help you better understand how each of these work.
Who Can Use This?
Both our calendar invite and email confirmation notification options are available to users on all plans, from Free to Enterprise. Users on our paid plans have the ability to personalize these booking notifications as well as to configure different booking reminder options. You can read more about our pricing, plans and features associated with each on our Pricing Page!
FYI: The Teams plan is available for both multi-user organizations as well as for individual use.
What’s the difference?
Calendar Invitations or Email Confirmations? What’s the difference, and how do you customize them? What should you keep in mind when setting them up and what should you include in them?
For some context, with Calendly, there are two types of notifications.
- With Email Confirmations, Calendly sends the invitee an email notification with their meeting information. A calendar event will still be automatically added to their calendar, via an attached .ics file.
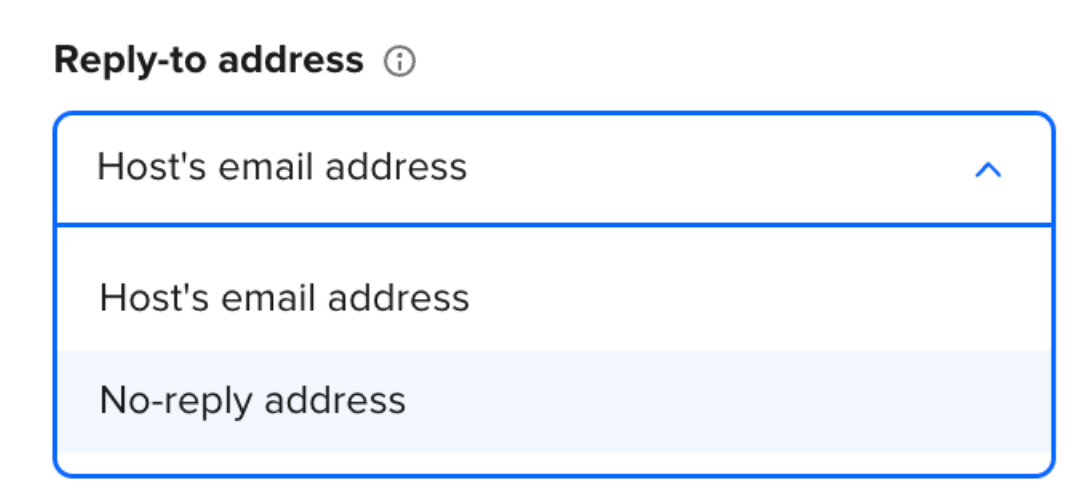
- As a default, the emails will be sent from notifications@calendly.com with your Calendly login email as the reply-to address.
- If you wish to hide your Calendly login email address, you can opt to use a no-reply email address.
- With Calendar Invitations, your connected calendar sends a calendar event invitation to the invitee’s calendar. In most cases, this will result in a notification in the invitee’s email inbox informing them of the invitation. The sender of the invitation will be the email address associated with the Add to calendar from your Calendar Sync page.
Note 1: Calendar Invitations are not compatible with iCloud Calendar or the Outlook Plugin (for Windows users). Users with either of these calendar connections set up as their "add-to calendar" on their Calendar Connection page will be defaulted to Email Confirmations.
Note 2: Calendar Invitations are not compatible with Group Event Types for security and privacy reasons. Group Events will auto-default to Email Confirmations.
What information should I include?
Title/Subject: Your name, the event name, and the location are great things to consider adding here!
Body: The event description, title and time/date/location, Invitee Questions and Answers, additional information (directions to an in-person event from a popular freeway exit, a little bit about the event that is not included in the description, instructions) are great things to consider, here!
💡 Tip: When using email confirmations, you will not be able to customize the text in your calendar event. The calendar event will default to the following information on the invitee end:
Title: {Event Name} with {Host Name}
Body:
Event Name: {Event Name}
Event Description: {Event Type Instructions/Description}
Date & Time: {Event Date/Time}
Location: {Meeting Location}
Need to make changes to this event?
Cancel: {cancellation link} Reschedule: {reschedule link}
Want to switch your notification method?
Easy-peasy! Follow these quick steps to update your notification method:
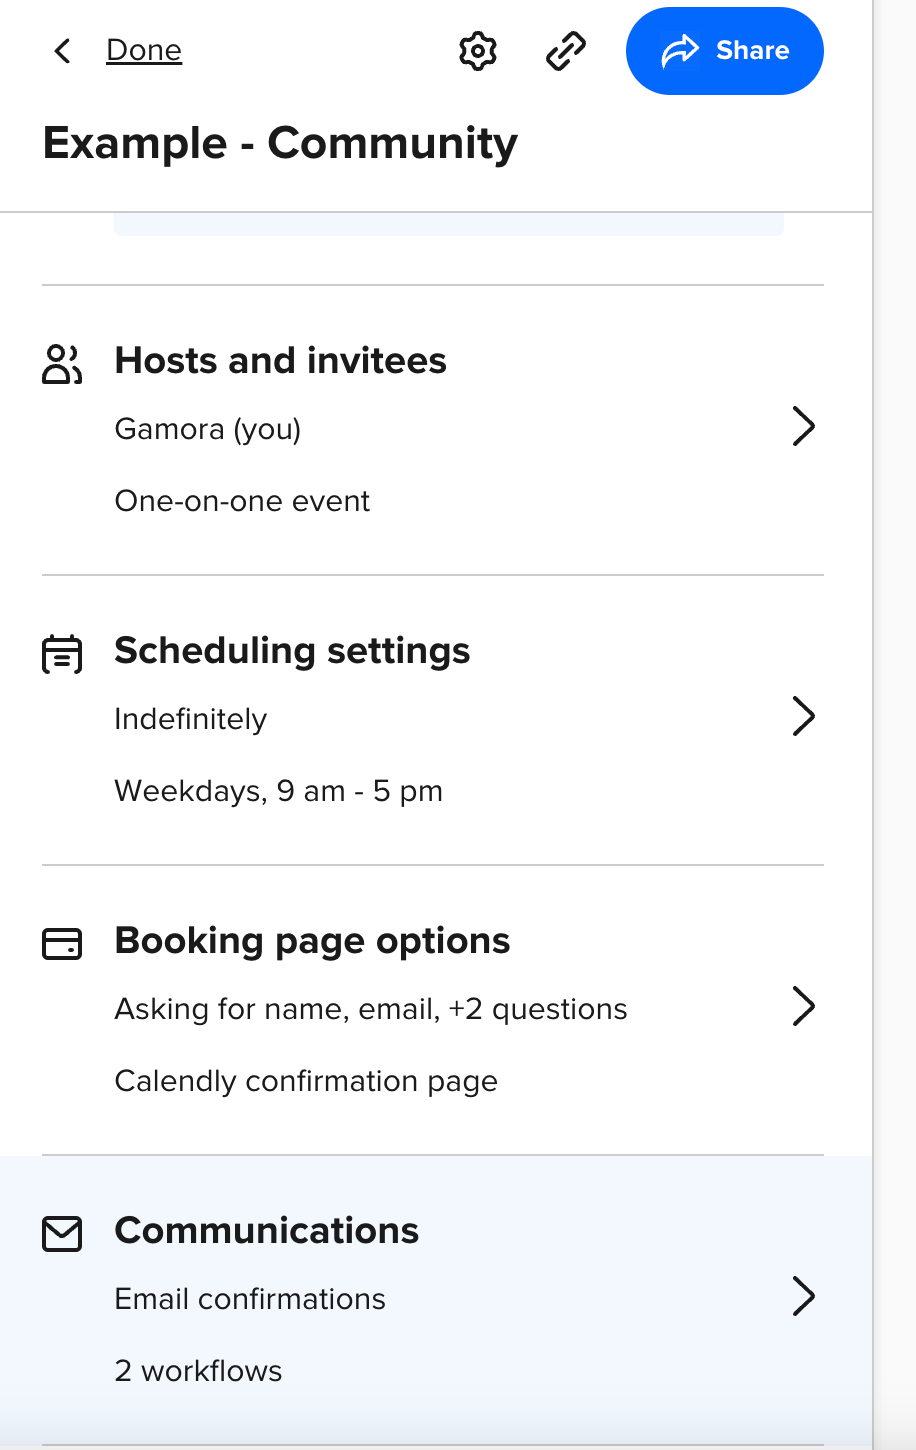
- Navigate to the event type settings page of the event type you wish to update
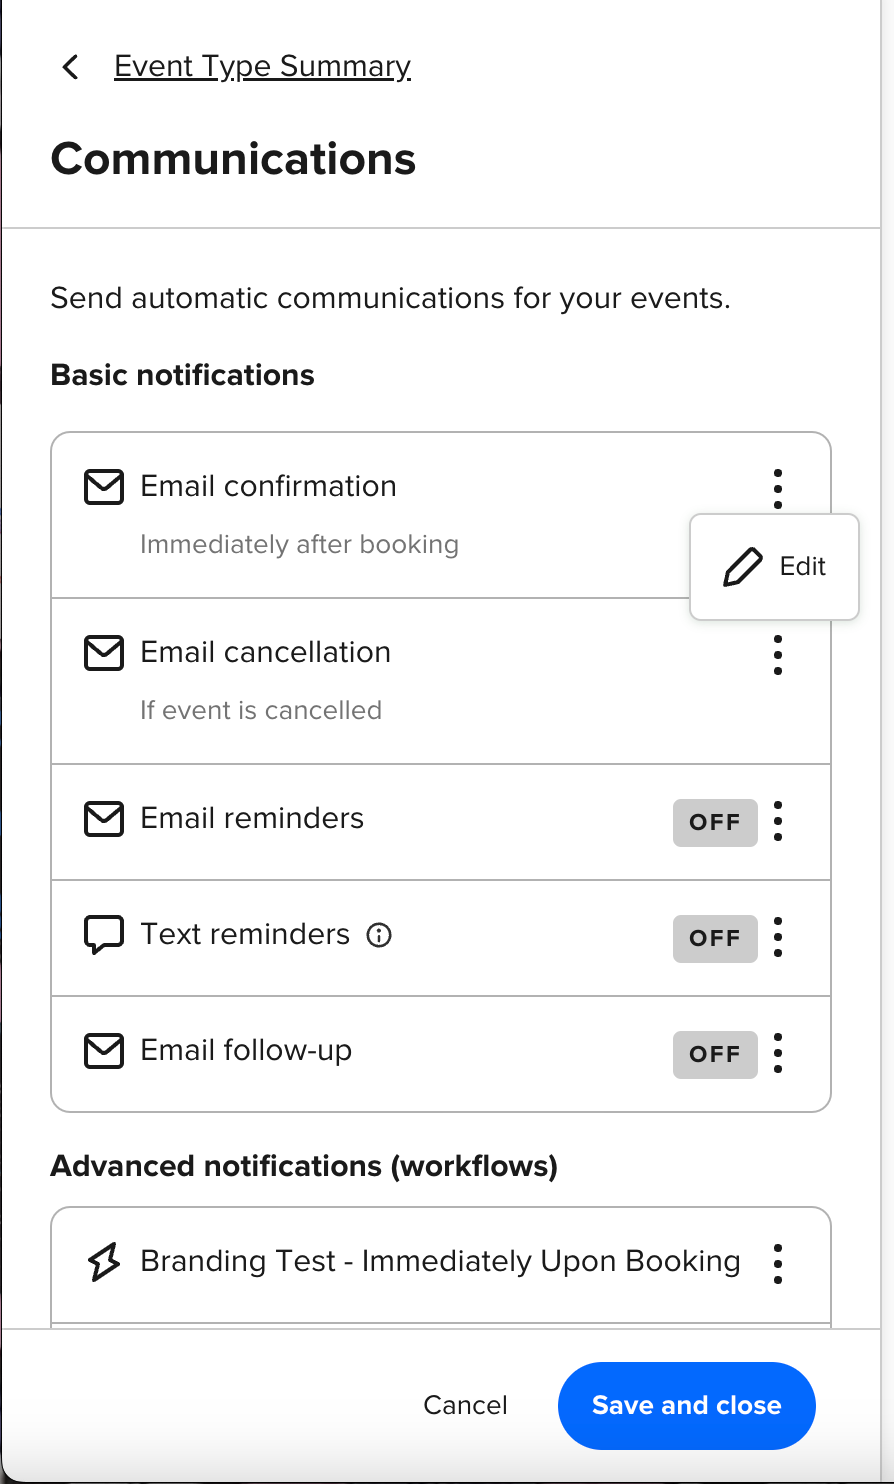
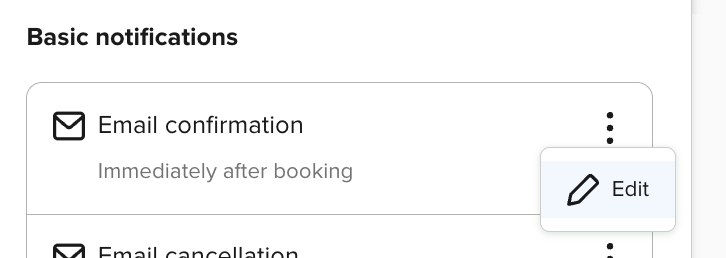
- Open the “Communications” section and click the three vertical dots next to your current notification method and select “Edit”.
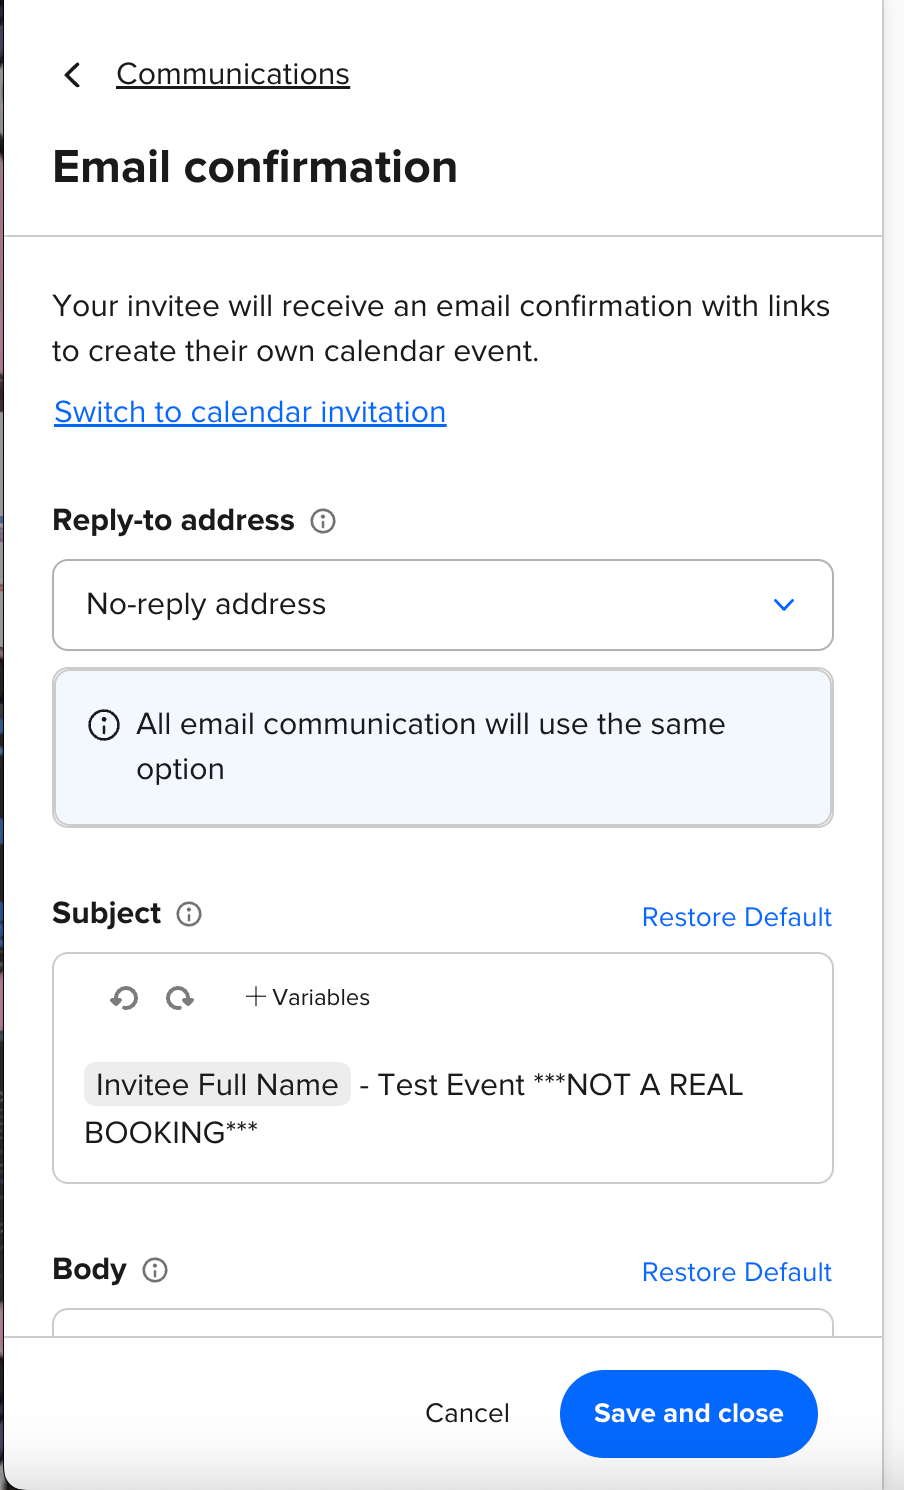
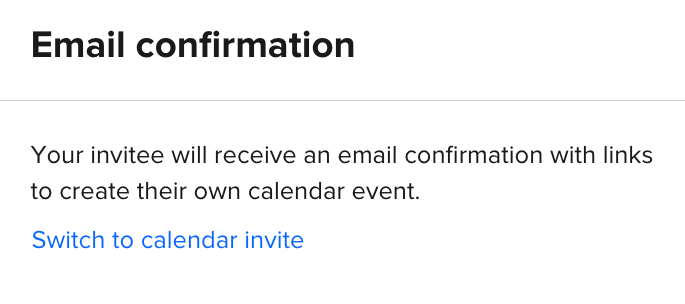
- At the very top, you should now see an option to either “Switch to calendar invite” or “Switch to email confirmation”, respectively. Go ahead and click the blue text to make the switch.
- Don’t forget to hit “Save and Close” at the bottom, and you’re all set!
What do you prefer - Calendar Invitations, Email Confirmations, or a combo of both depending on the event type? Are you using Email Reminders and/or Followups? If you are, you might be interested in our Workflows!
Calendly members on a paid subscription can automate the extra work that comes with booking meetings. You may want to automatically send email or text messages to invitees before or after booked Calendly events without the guesswork. Currently, you may be using multiple applications or manually copying and pasting event and invitee information between Calendly and another application to get these kind of tasks done. Not anymore, with Workflows! Read more here.
Some Calendly Community topics and articles that you might find helpful:
Let us know what you think - we would love to hear about your use case with these features, below!