Hey there CalPals!
Your resident Routing Form cheerleader is back with another routing form workaround to help you create multi-step or “tiered” routing forms in Calendly.
Problem: At this time, a Calendly routing form acts as a single-step form when used stand-alone.
Solution: By “daisy-chaining” multiple routing forms together, you can achieve multi-step routing.
Who Can Use This?
Calendly’s Routing Forms are available to users on our Teams and Enterprise plans, as well as the legacy Professional plan.
FYI: The Teams plan is available for both multi-user organizations as well as for individual use. To learn about the features in each plan, feel free to check out our pricing page!
When would I want a multi-step routing form?
Generally speaking, multi-step routing forms can be used in any scenario where you want to offer conditional routing form questions.
Think: “I want to offer different sets of routing form questions/answers to different groups of people”.
What might this look like?
📍Multiple location businesses offering different services per location. You can use an initial routing form to ask invitees for their location preference, then route them to a secondary form with routing questions specific to that location.
📚 Teachers wanting to offer a different routing form for parents and students. You can use an initial routing form to ask if the invitee is a parent or a student, then route them to a secondary form with routing questions for their specific selection.
Regional sales teams wanting to route leads to a specific routing form based on their selected location. You can use an initial routing form to ask leads to select their region. You can then route them to a secondary form with routing questions for their selected region.
Step By Step Instructions
For this example, I’m playing the role of a salon with two locations; one in Chicago and one in Milwaukee. I want to offer clients a selection of stylists based on their location preference.
My initial form will determine my client’s location preference and the secondary forms will allow them to select their desired service and stylist.
💡Tip: For my visual learners, here’s a quick video demonstrating the end result of this configuration.
- Navigate to your Routing page from the left hand sidebar of your home page.
- Click +New routing form
- We’re going to start by creating our secondary routing forms.
- This is because we will need the secondary form links to configure the initial form logic later on.
- For this example, we’re going to start from scratch and Create a new form.
- Give your form a name.
- I’m naming this form “Step 2: Chicago - Appointment Booking Form”.
- I’m naming this form “Step 2: Chicago - Appointment Booking Form”.
- Now, we need to add form questions to trigger routing logic. Click + Add a question.
- Keep in mind, at this time routing logic can only be triggered by questions in the dropdown or radio-button format
- Keep in mind, at this time routing logic can only be triggered by questions in the dropdown or radio-button format
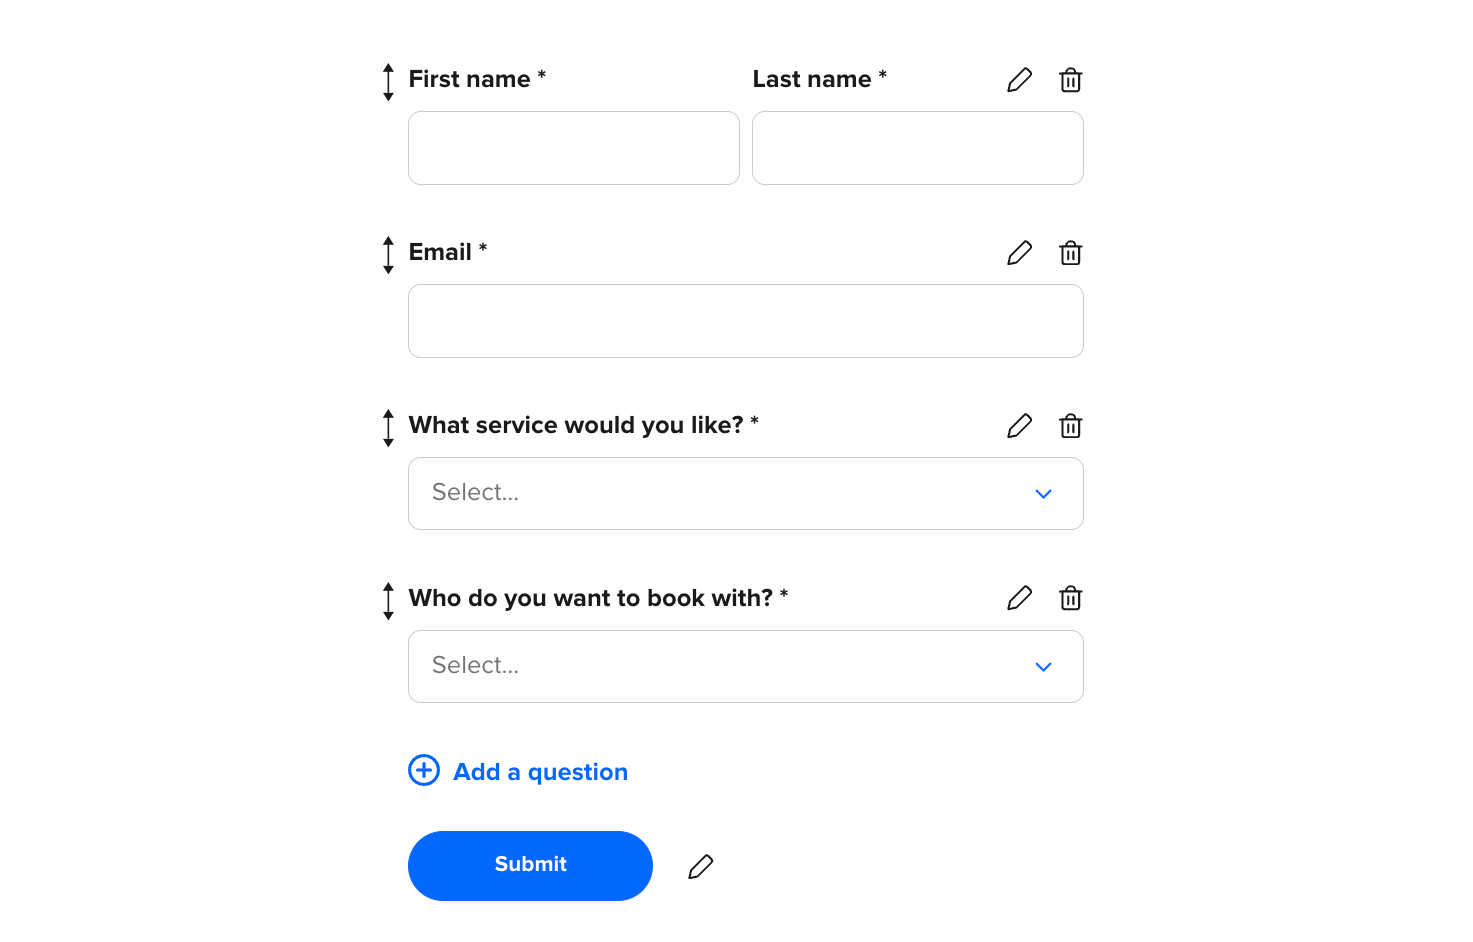
- Build out your secondary form according to your routing needs.
- Here’s how I have mine configured:
- Go to the Logic section of the editor and build out your logic accordingly.
- Repeat as needed for your other secondary forms.
-
💡Tip: I recommend keeping a labeled list of the links for each completed secondary form as you finish them. This will make the initial form configuration process easier down the line
-
- Once you have your secondary forms configured, we’re going to configure the initial routing form.
- Repeat steps 1-4 to create a new routing form.
- I’m naming this form “Step 1: Locations - Appointment Booking Form”
- I’m naming this form “Step 1: Locations - Appointment Booking Form”
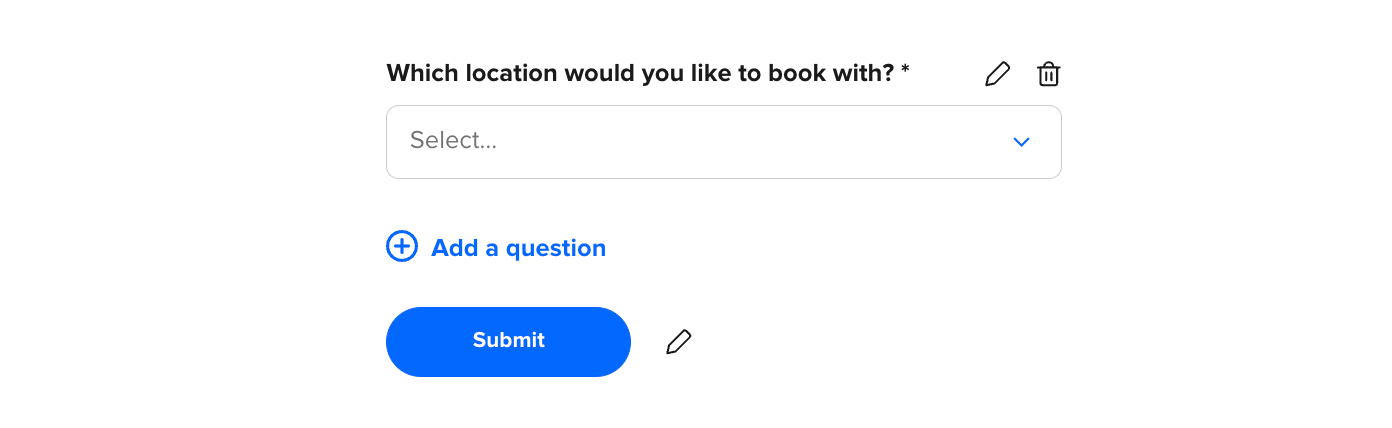
- + Add a question to determine which secondary routing form the invitee will be brought to.
- Here’s how I have mine configured:
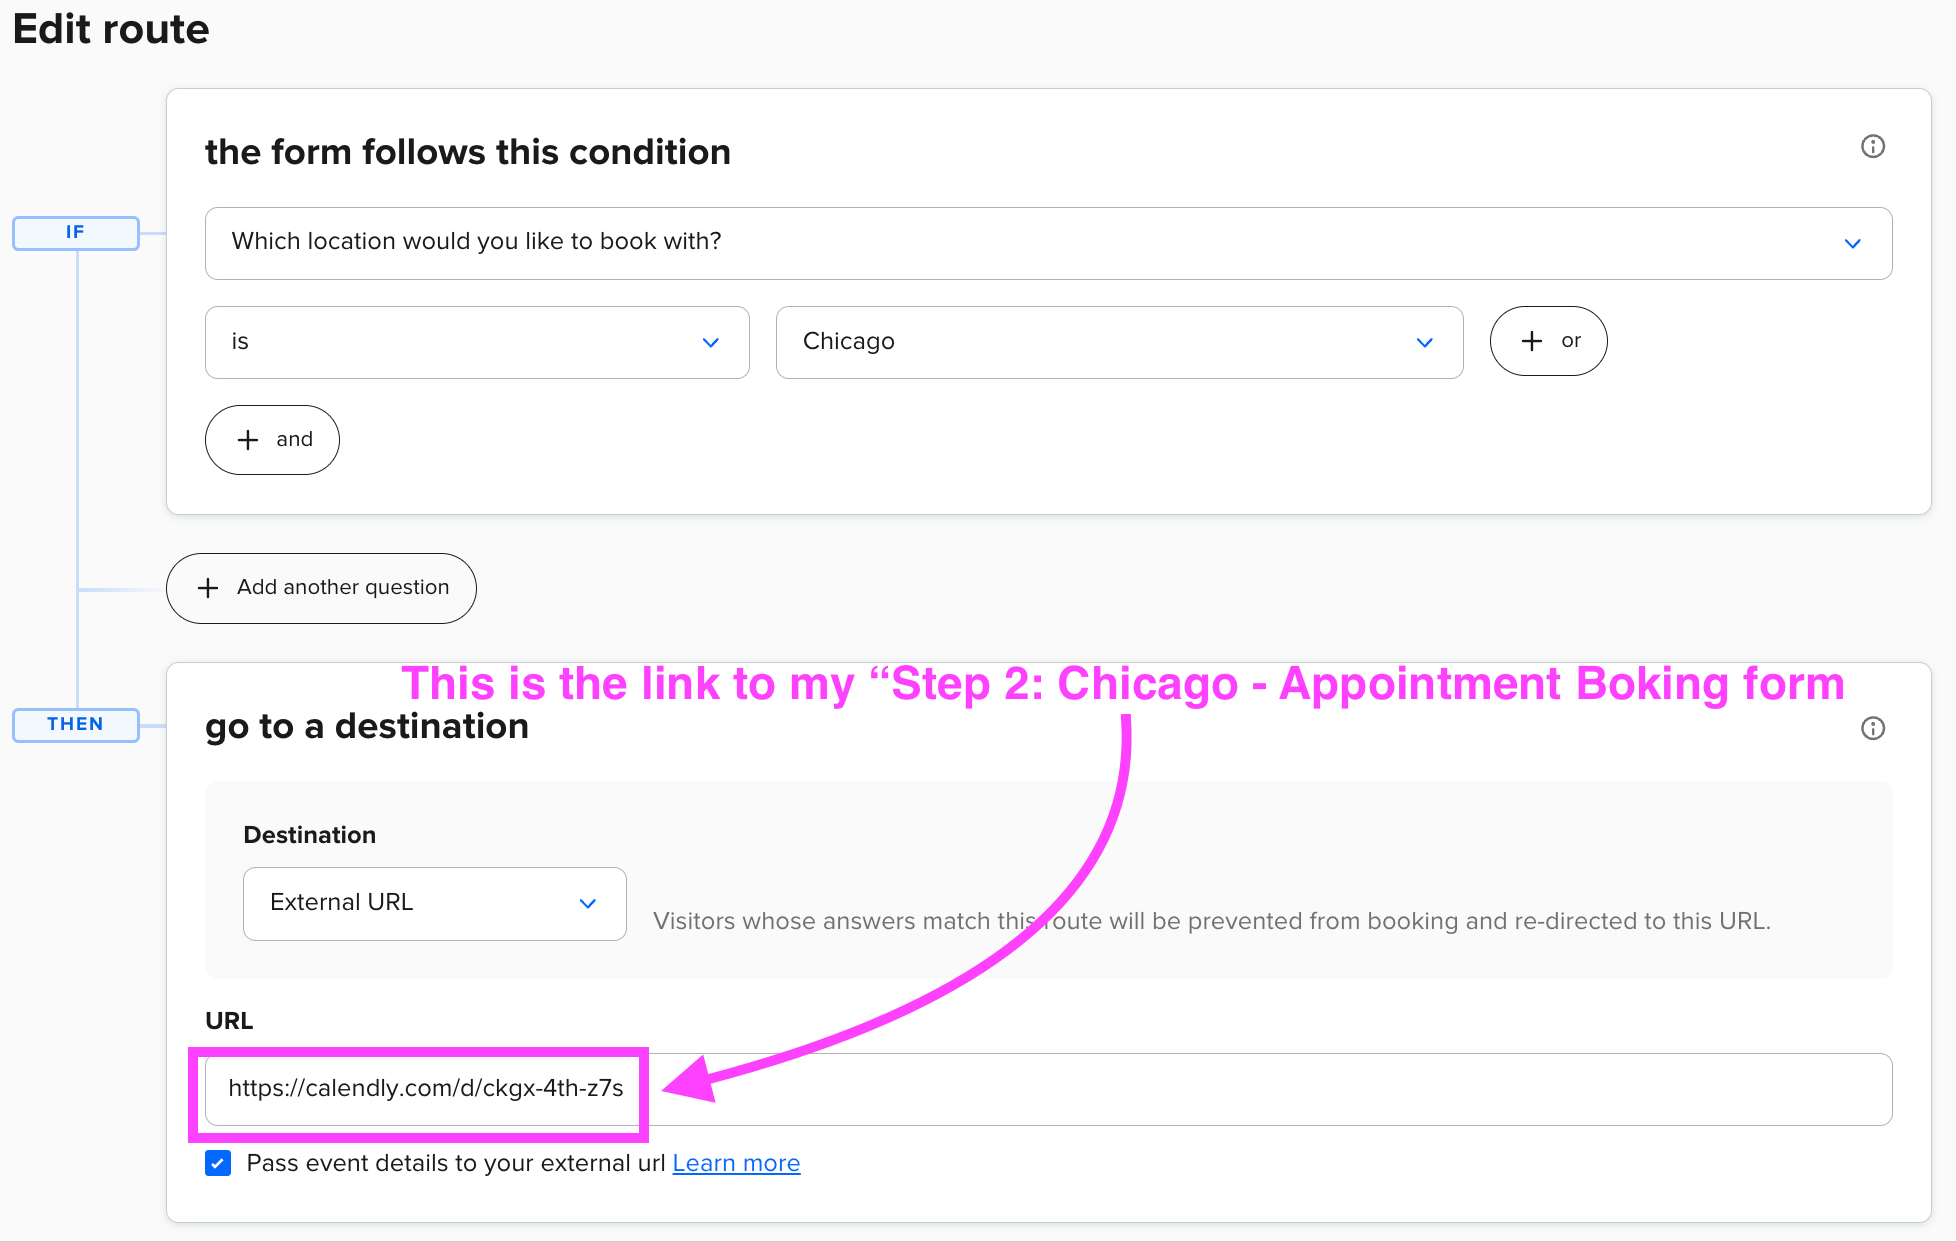
- In the Logic section of the editor, we’re going to click +Create and use the External URL option to route invitees to the appropriate secondary form based on their form response.
- Click “Save” and repeat as needed until each of your secondary routing forms are accounted for in your initial routing form.
- Now you’re ready to share your initial routing form! You can share the link directly, or embed the routing form on your website!
You may be wondering– Is Calendly ever going to build in a multi-step routing feature? It’s definitely something we’re looking into and collecting feedback on. No promises or timelines, but definitely on our radar. Be sure to let us know about your use case as every bit of context helps!
Want to learn more about Routing forms? Feel free to take a look at any of these other resources: