


Hey there, Calendly Community!
It’s a sunny ☀️ Thursday morning where I am - I hope that the spring weather wherever you are is pleasant, too! What pairs well with spring weather? Spring cleaning, of course! 🧼 So let’s clean up your booking page and make it look nice, fresh and new. You’ll be glad when you’ve done it - just like you’ll be glad when you’ve finally admitted it’s time to get the dust bunnies from behind your washer and dryer, and actually made it happen. 🧹
What exactly can you do in order to “clean up” your booking page? It all starts within your Calendly account, where you can rearrange event types, change the color that identifies event types and customize your event types in other ways. This translates to your public booking page - where invitees will marvel at your organization. Let’s dig in!
Q: Who will this article benefit?
A: Everyone! There is a tip and/or trick in this article that can be applied to all free and paid users alike, though some will be more useful for users on our paid plans.
🖱️Drag and Drop
Within your private Calendly account, you have a landing page. This is where all of your event types live, active and inactive, and where you can find tools such as your side bar with quick-links to things like “Meetings” and “Contacts” (a fun new feature you can read more about here!).
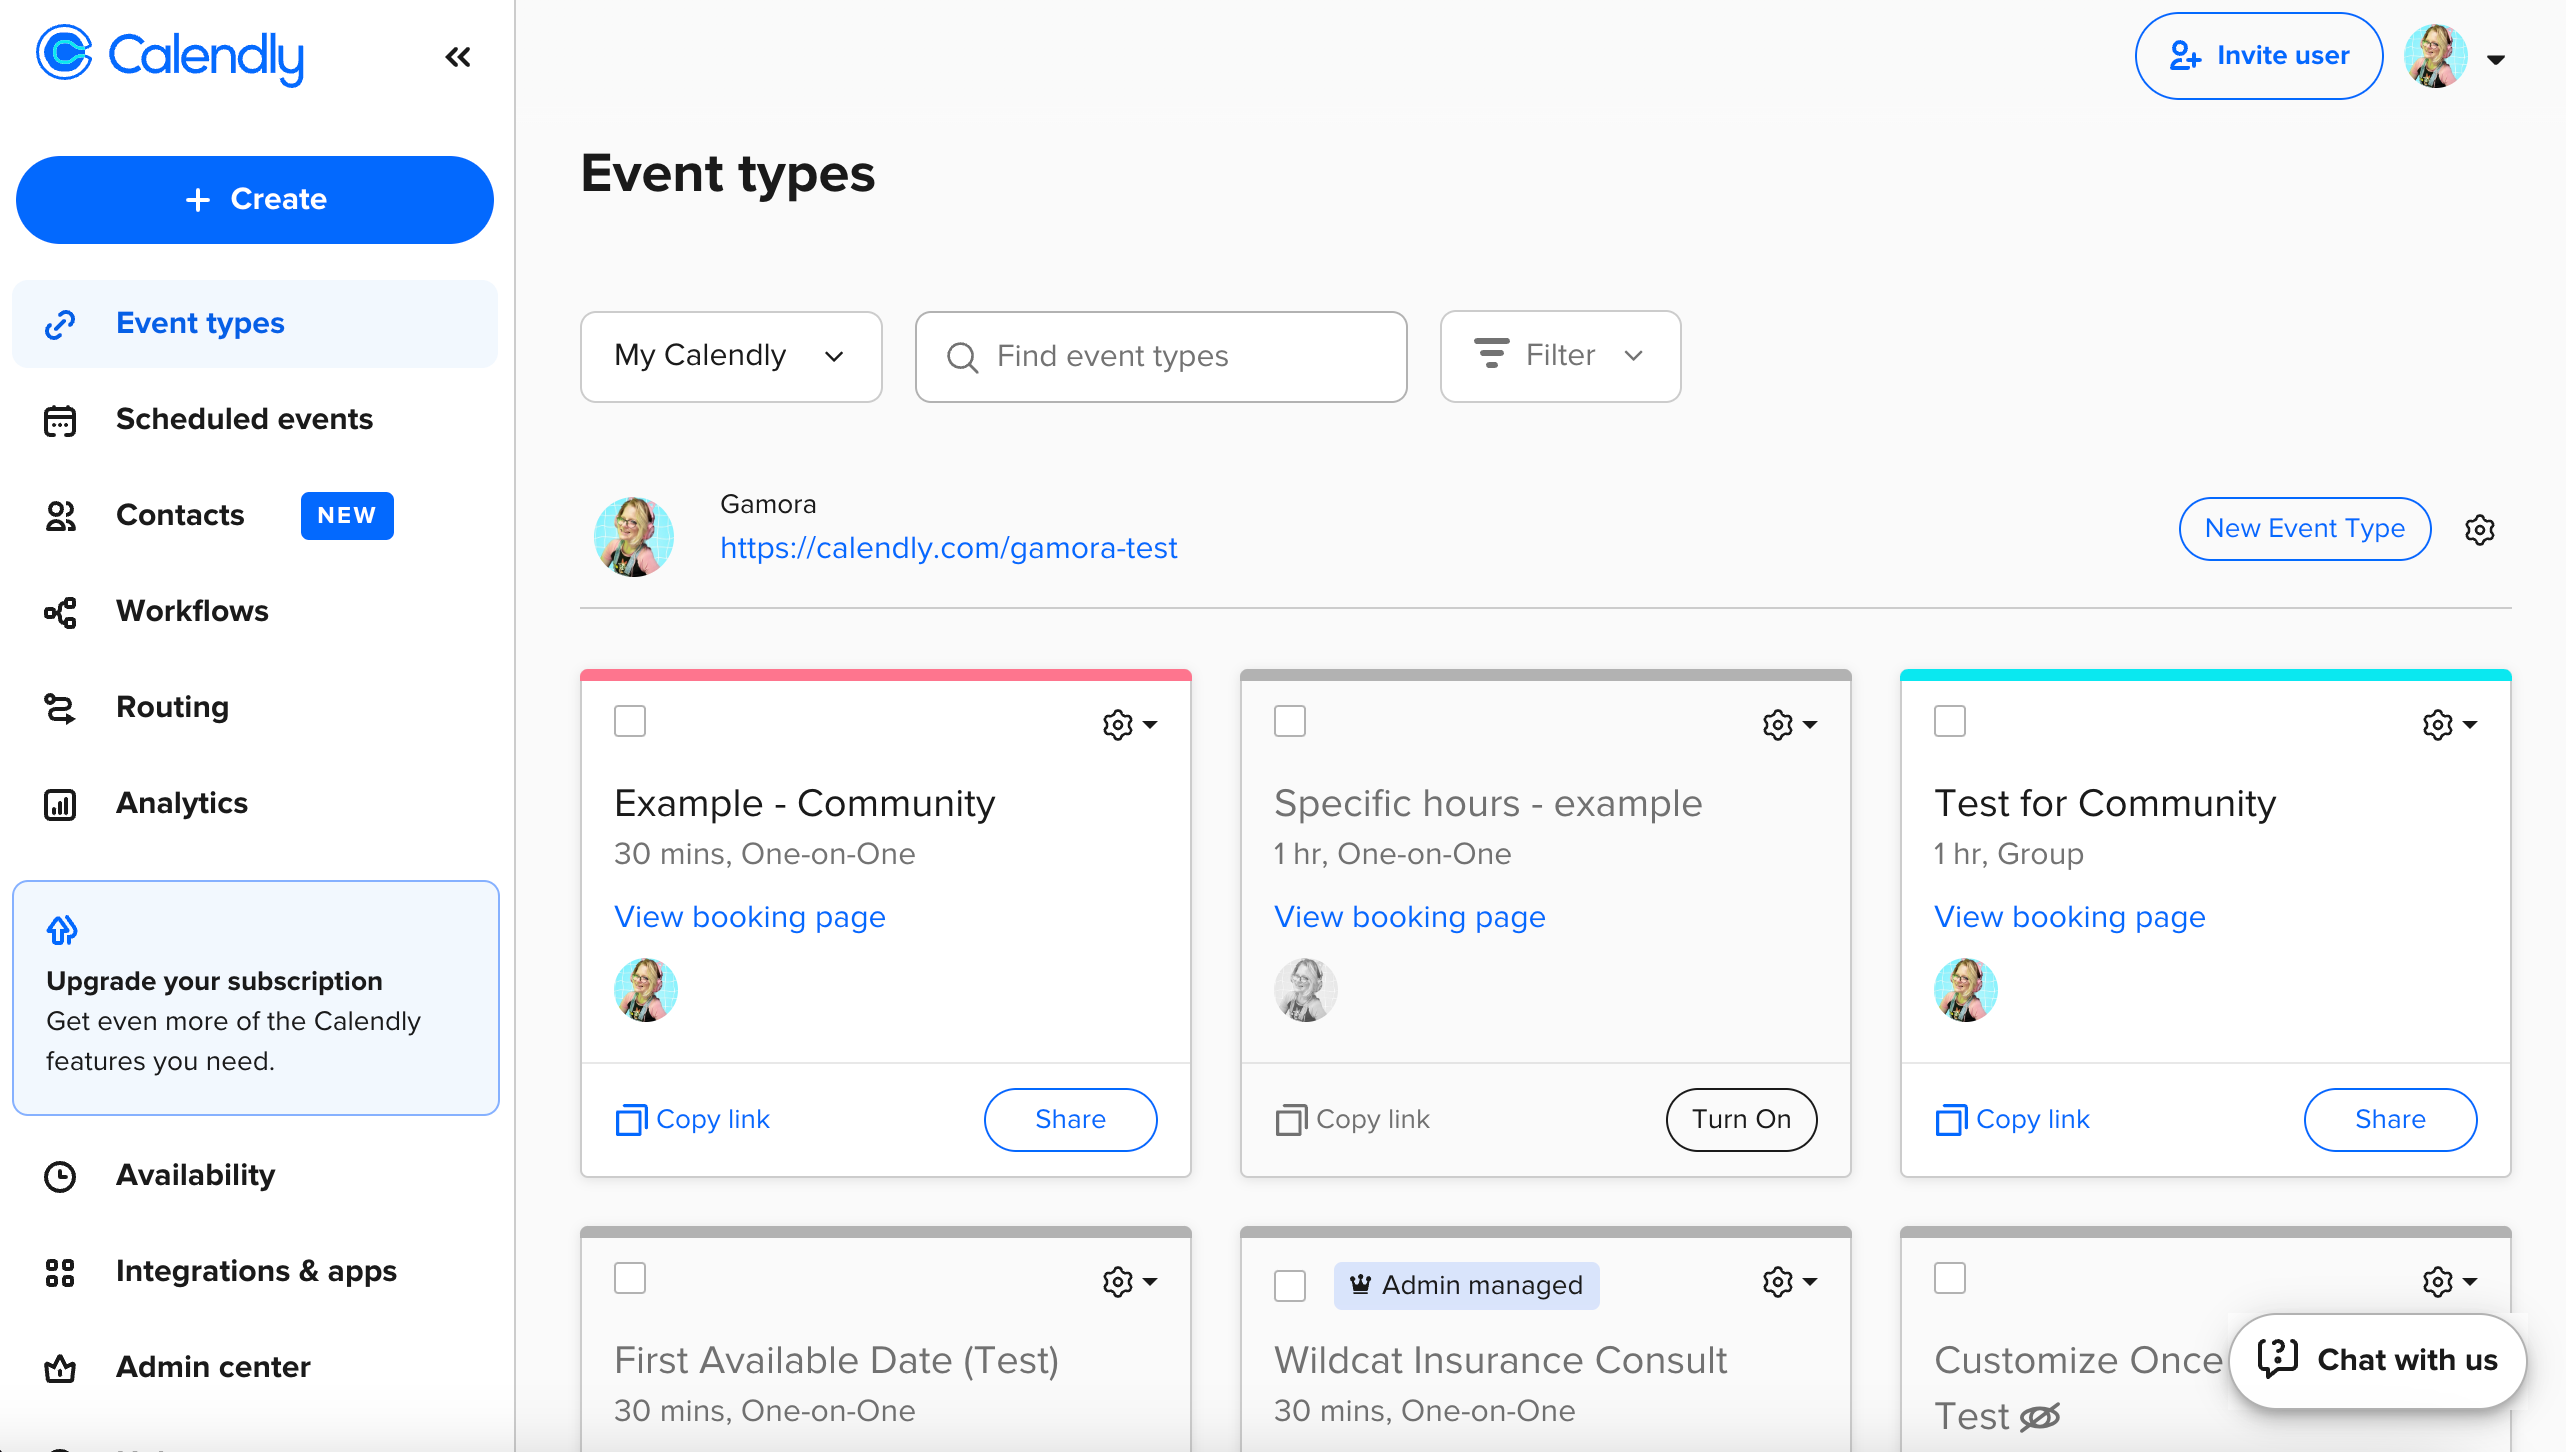
Your landing page is where you want to be for “the drag and drop” (as well as for the rest of the tips + tricks in this article). If you are using our web app version of Calendly, all you need to do is click on an event type with your mouse cursor and “drag” that event type to the desired place - then release the mouse and “drop” it where you’d like it to live.
💡Tip: if you are using the web app on an iPad or another tablet, you will not be able to “long press” an event type and drag/drop it with your finger. However! You can connect a bluetooth mouse to your tablet and drag/drop your event types this way, just like on a desktop.
Once you’ve done this, the order of the event types will automatically be updated on your public booking page, too!
👀 More of a visual learner? Check out the super quick (29s) video below!
🎨Customizing Colors
When you create a new event type, it’s automatically assigned a custom color that makes it easier for you to identify the event type when scrolling your landing page. This color translates to your live booking page, as well, likewise making event types easier for your invitees to distinguish from each other.
How can you use colors to improve your workflow?
- Assign a single color to each in a group of event types that share the same host
- Assign a single color to each in a group of event types using the same location
- Assign a single color to each in a group of event types that share the same time zone
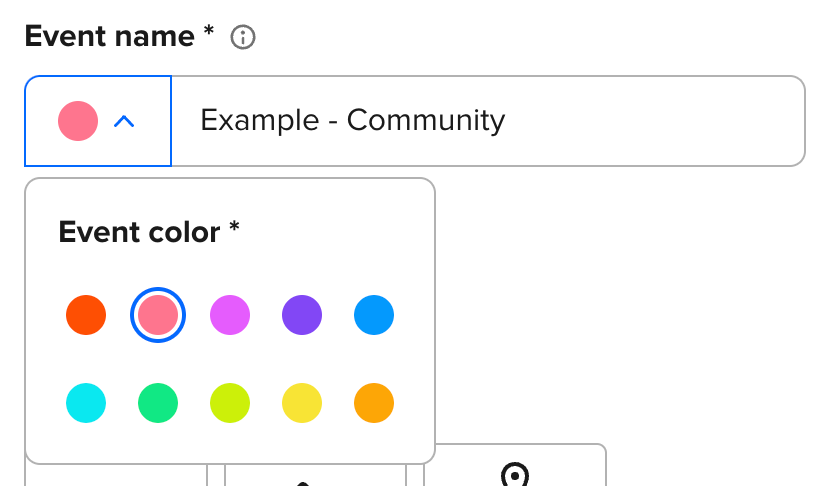
Updating the color of an event type is easy! ☑️ Click to edit your ET > click “Event details” > select the dropdown with a colorful circle next to the “Event name” field > update the color > click “Save and close” to apply the changes.
👀 More of a visual learner? Check out the super quick (17s) video below!
🗂️Creating Categories
Many of our users create and offer multiple event types that fall within one of several categories of event types.
You can both make things easier on yourself, internally, as well as more visually pleasing and user friendly navigation-wise for your invitees by building “categories” into your event type titles.
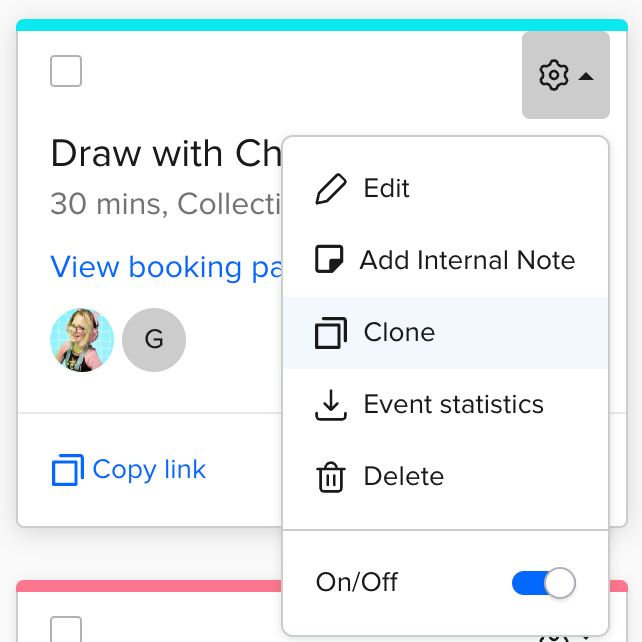
💡Tip: click the “gear” icon on any ET > click “clone” to create a second, identical ET > edit the cloned ET as needed. This makes creating multiple event types for the same purpose fast and easy!
Example use case:
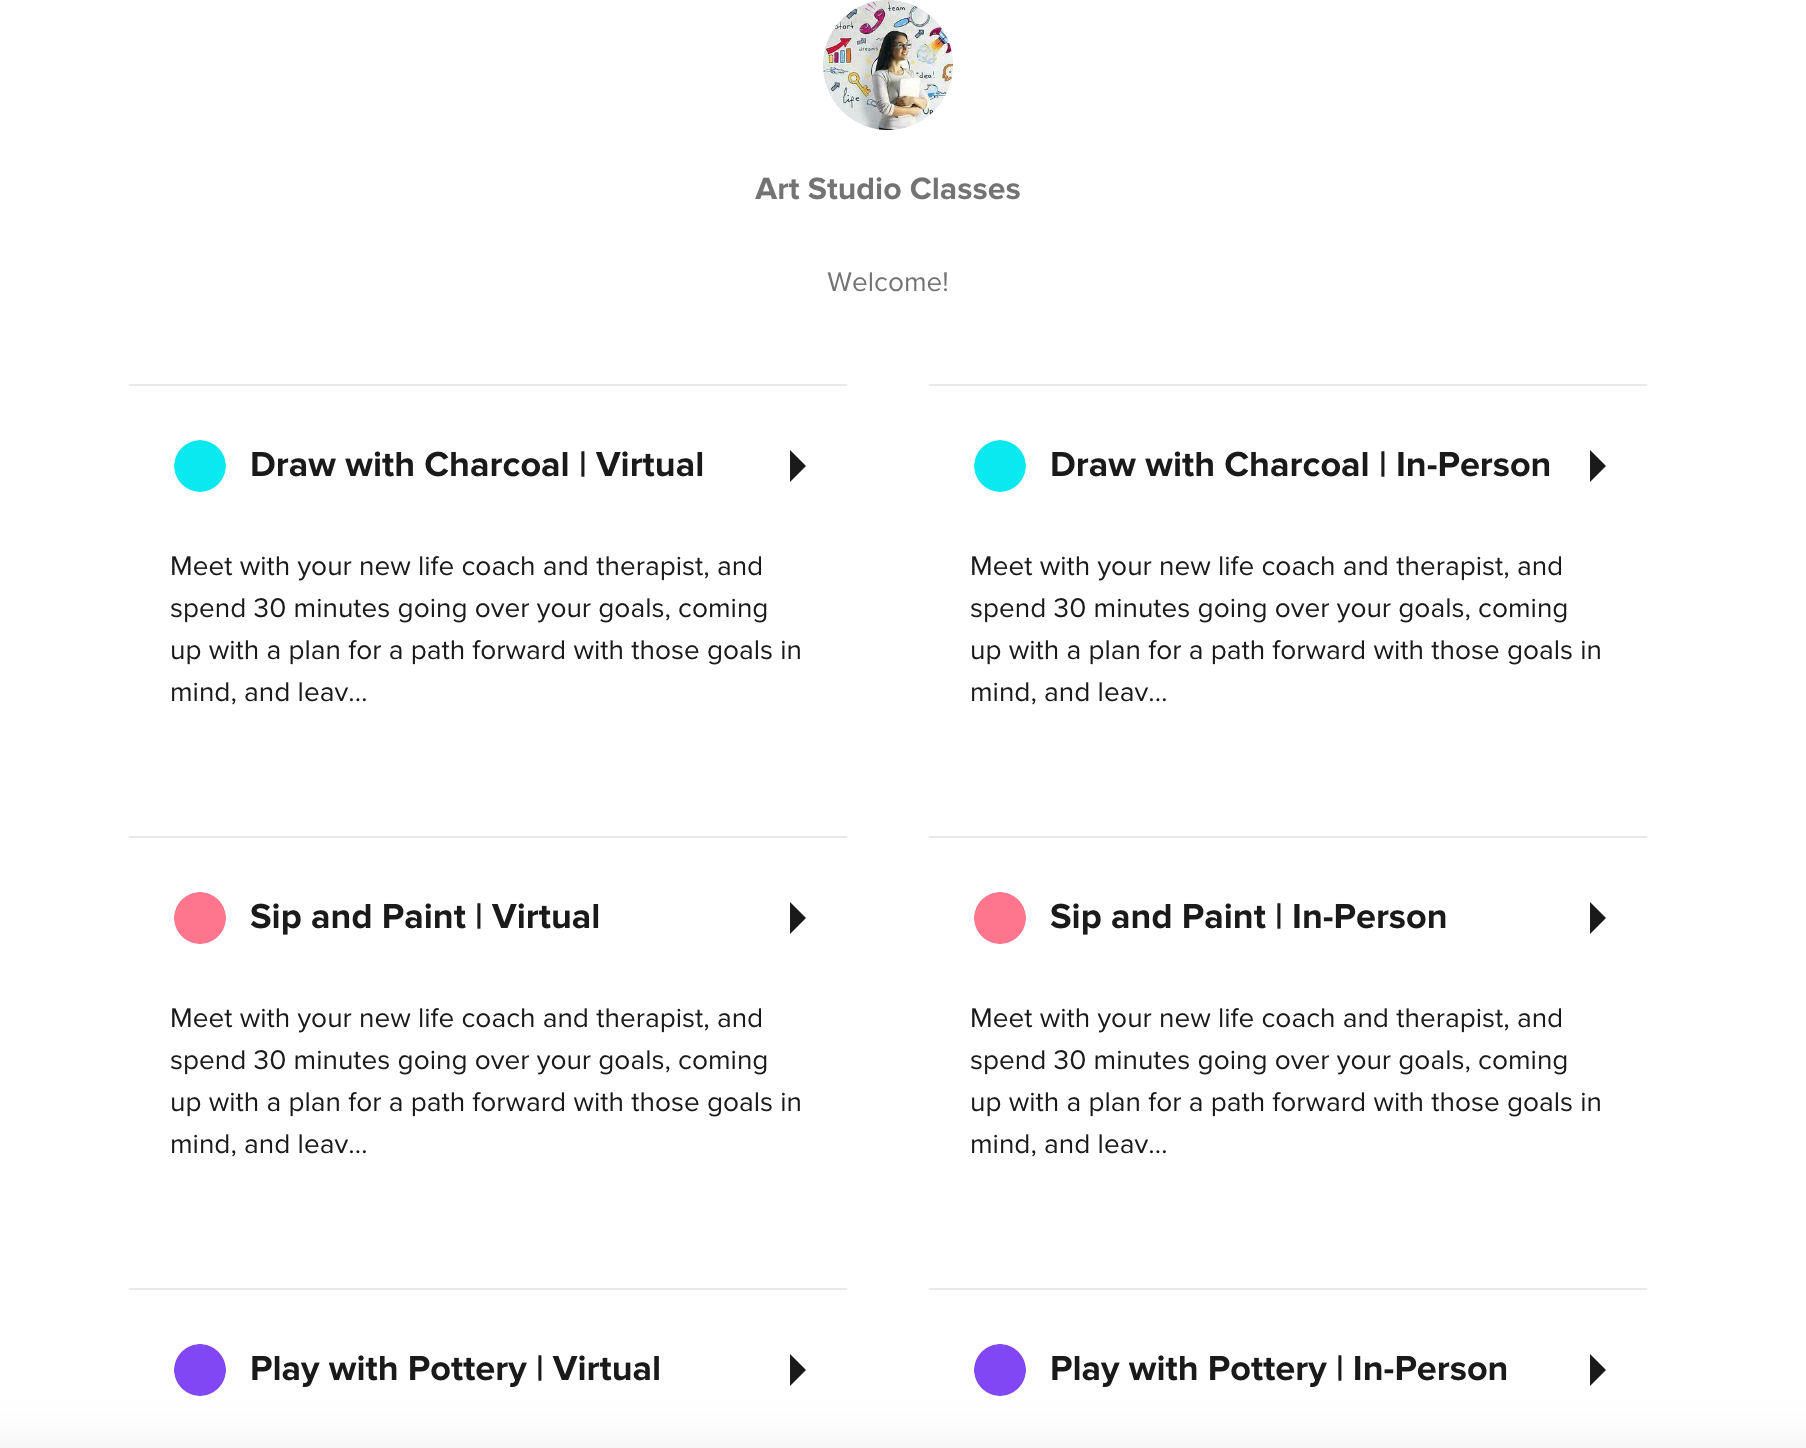
You are offering classes in pottery, painting and drawing with charcoal. 🧑🎨 You offer virtual and in-person options for each of these classes. Your event type titles could look like this:
- “Draw with Charcoal | Virtual”
- “Draw with Charcoal | In-Person”
- “Sip and Paint | Virtual”
- “Sip and Paint | In-Person”
- “Play with Pottery | Virtual”
- “Play with Pottery | In-Person”
See what we mean? The results look something like this:
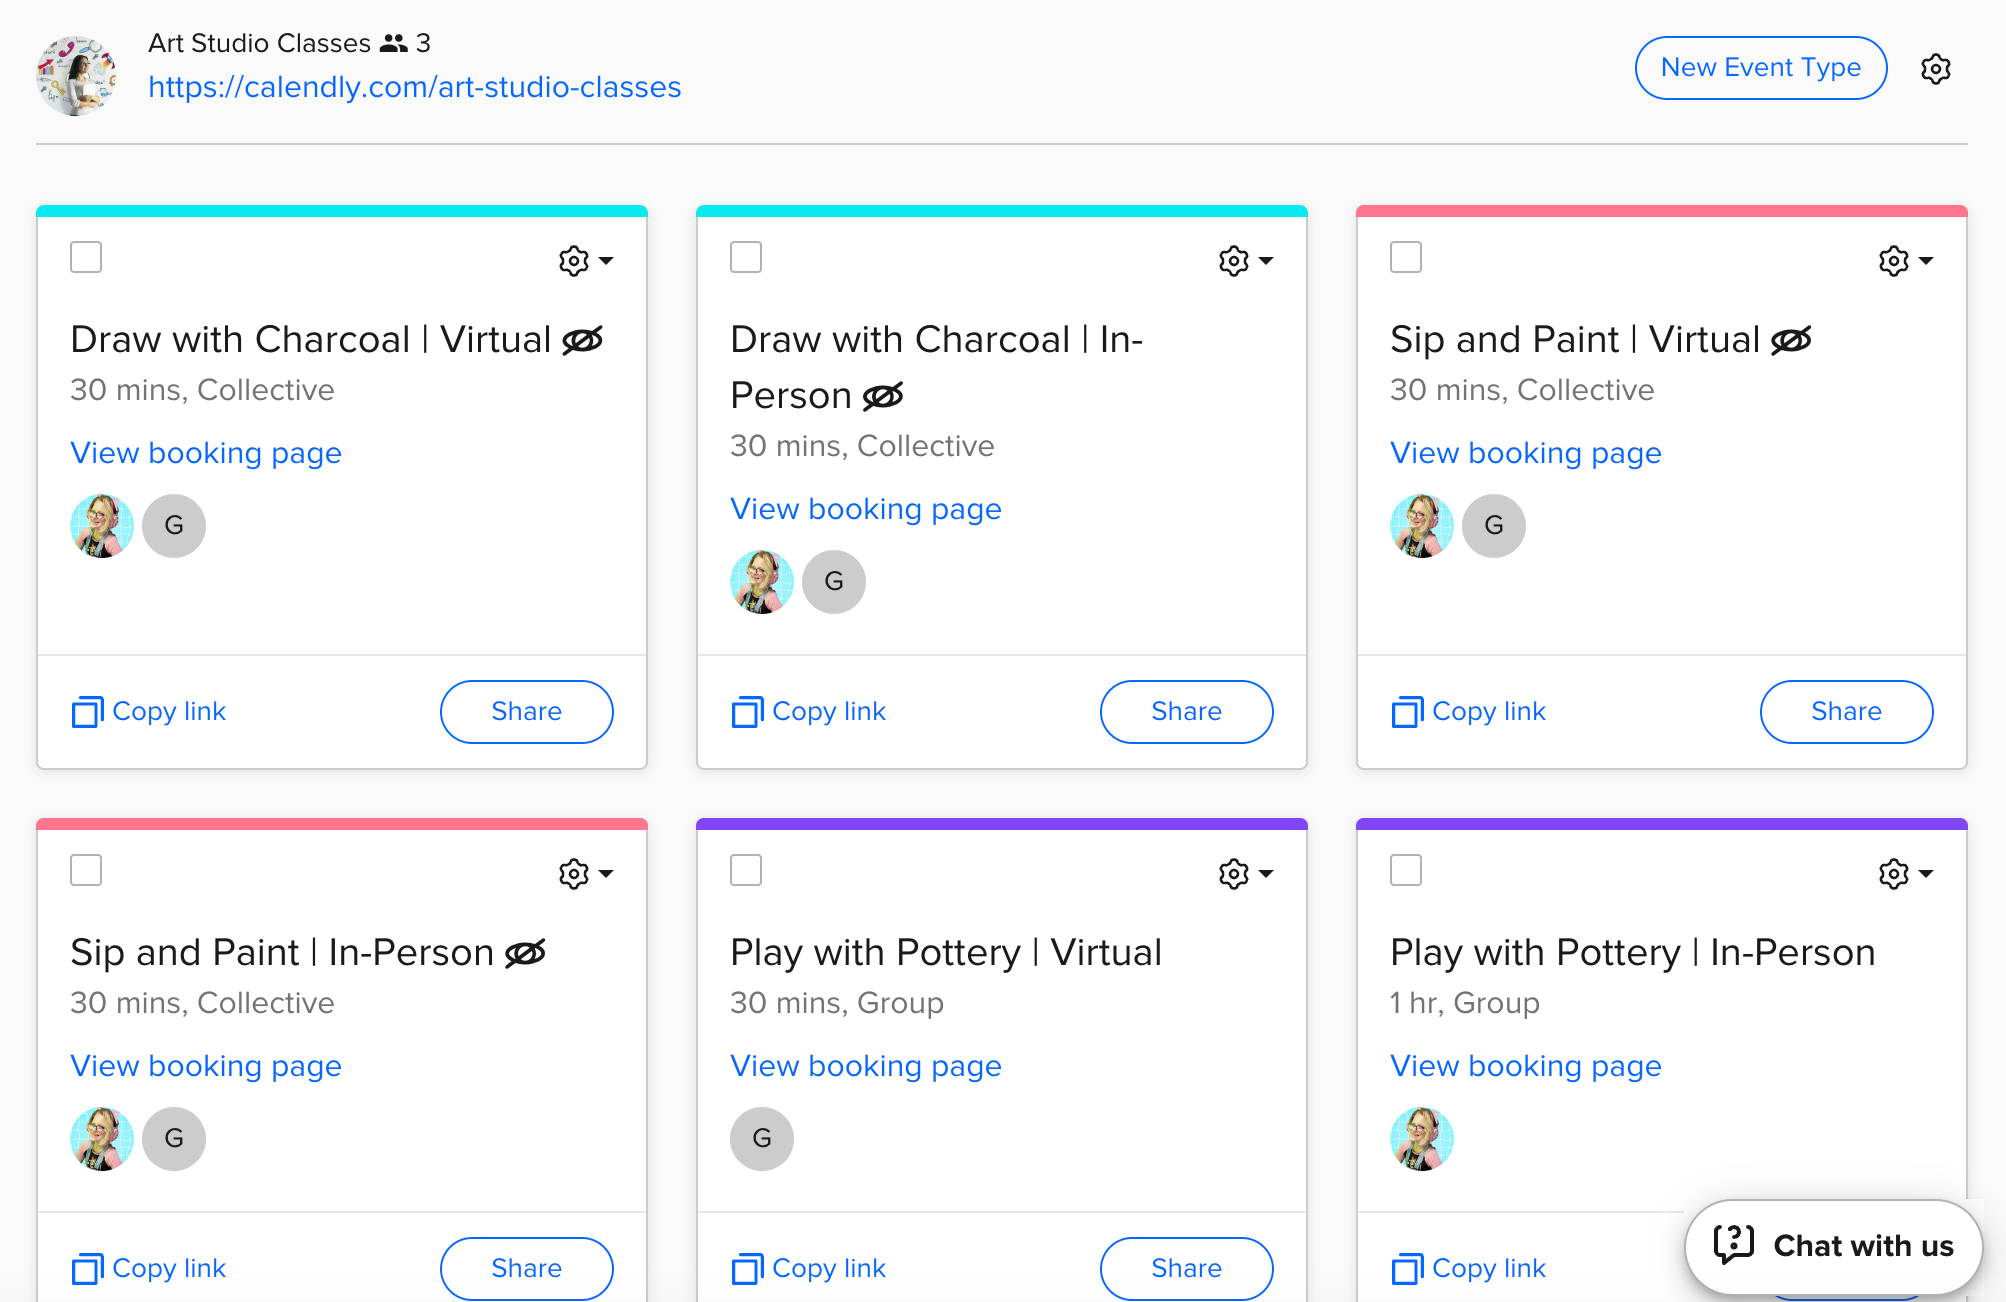
The public booking page would then appear similarly:
There you have it - three fantastic ways to organize your booking page, making it more aesthetically pleasing and functional. 🥇
What are some other ways that you’ve found you like to organize your booking page? Comment them below for all to see and benefit from! 🙌🏻
Additional resources you might find useful: