When you're working with clients around the globe, scheduling can quickly become complicated—especially when you need to ensure each person connects with the right team.
That’s where Calendly’s Routing Forms come in. With just a few clicks, you can create a custom experience that automatically directs clients to the correct booking page based on their location, meeting type, or other key details.
In this guide, we’ll walk you through how to set up a global routing form, step by step, so your clients always land in the right place, no matter where they are.
Who Can Use This?
Calendly’s Routing Forms are available on our Teams Plan and above.
Have questions on our plans? Feel free to check out our pricing page!
Want to learn more about Routing Forms?
You can learn more by going to our help center here: Calendly Routing
Routing Forms allow you to fully customize the questions and the logic behind how these forms work. So you can direct visitors to specific people or destinations based on factors like industry, company size, and interests:
In this article, we’ll focus on creating a form focused on routing users across the globe to the correct destination. You can follow the steps below on how to do this:
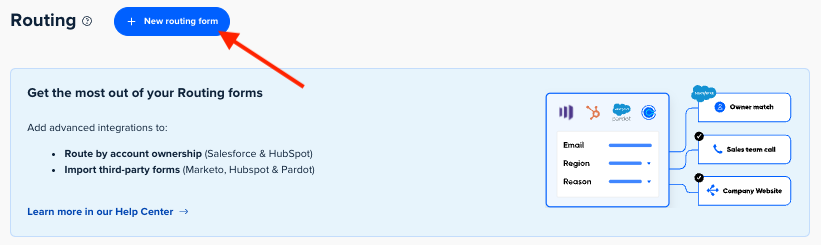
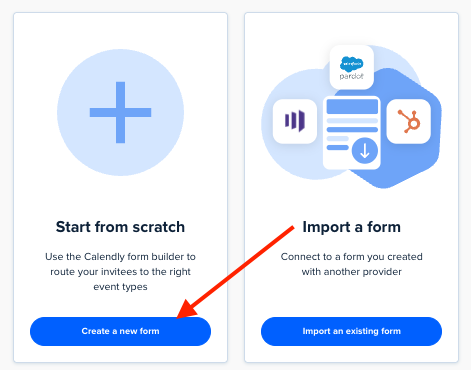
- First, you’ll want to go to the Routing Page and select (+ New Routing Form), then select Start from Scratch
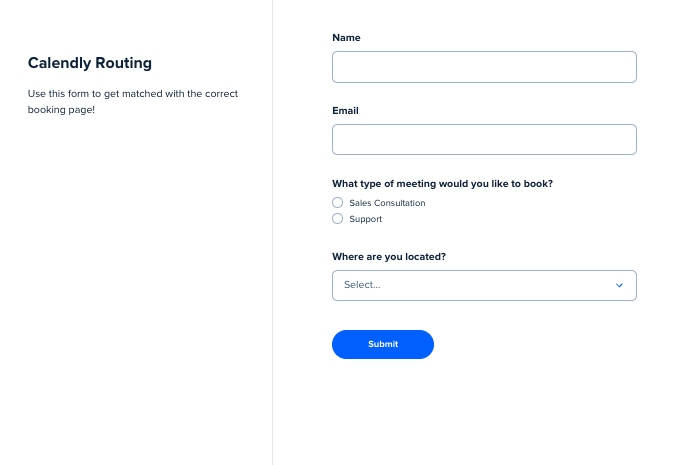
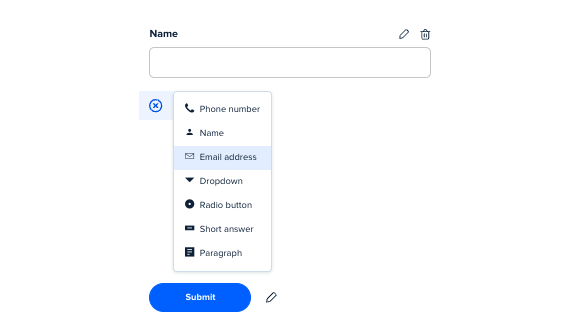
- Now, you can add your questions (We recommend adding one for their Name, Email by default so you have their information on hand!)
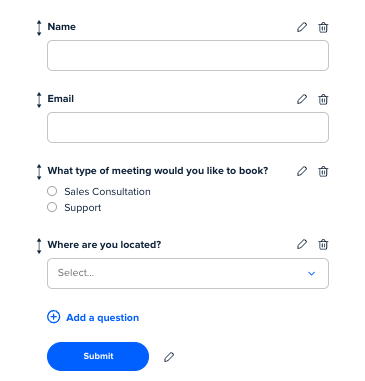
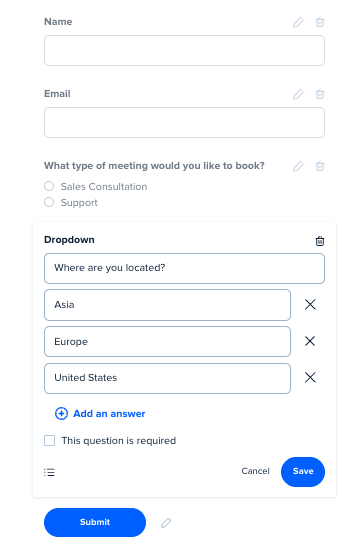
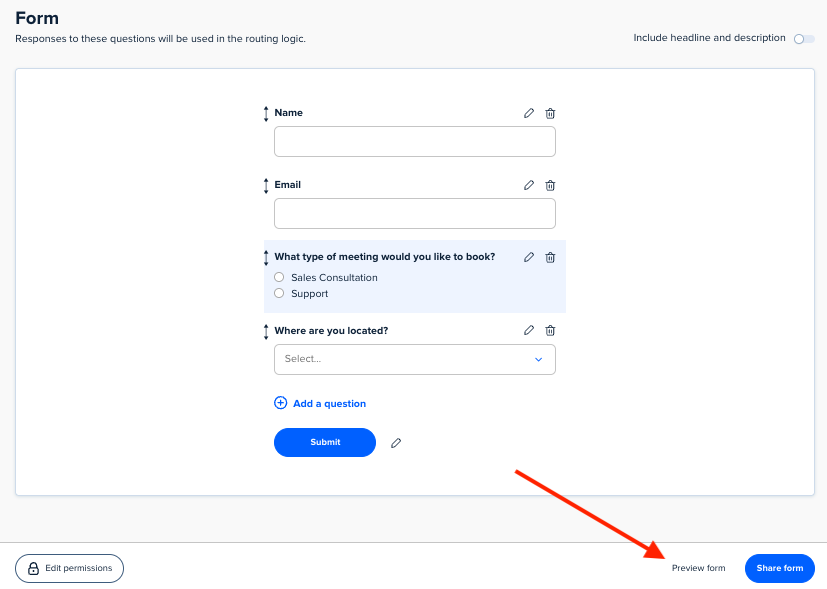
- Once you add the questions you’d like, we can move on to editing the Logic. In my example here, I’m collecting their name, email, what type of meeting they’d like and their location:
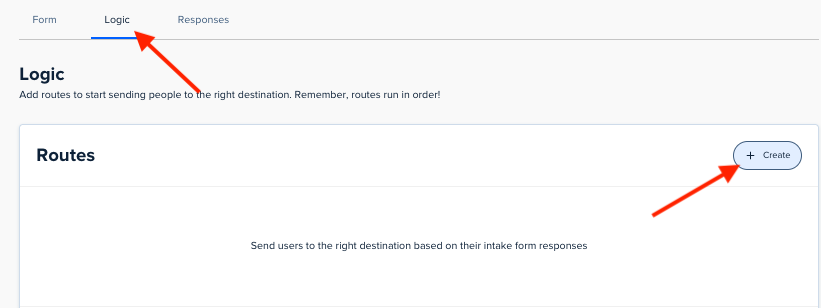
- Editing the logic can be tricky at first, but you’ll get the hang of it. Head to the Logic tab, then select (+ Create)
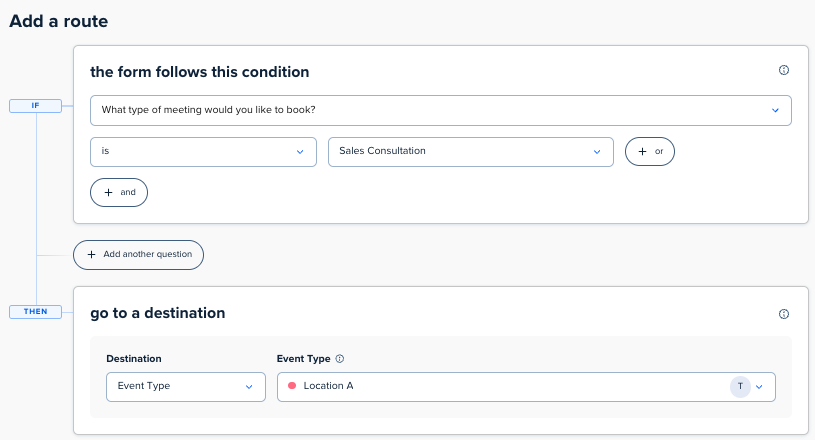
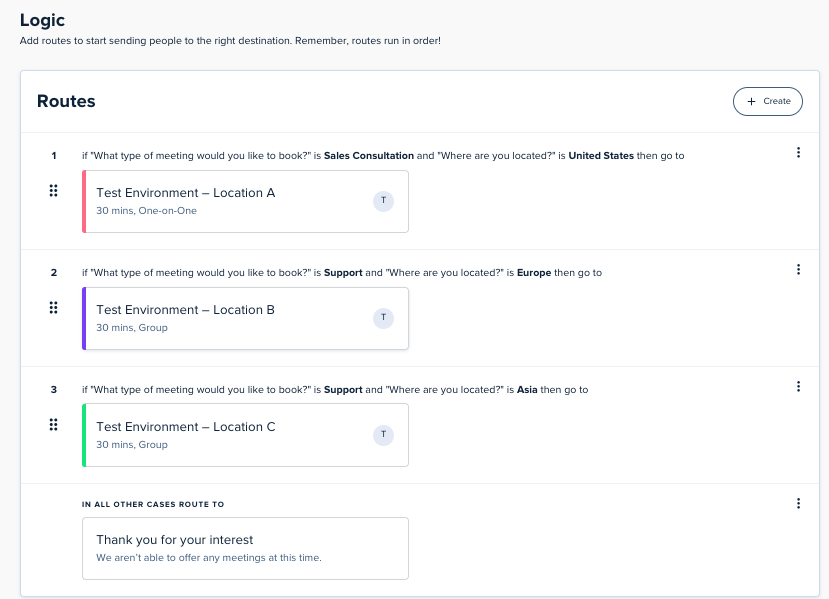
- Here, you’ll add what conditions the form will follow to route those users. In my form, this sounds like: IF the question “What type of meeting would you like to book?” IS set to Sales Consultation, send them to the event Location A:
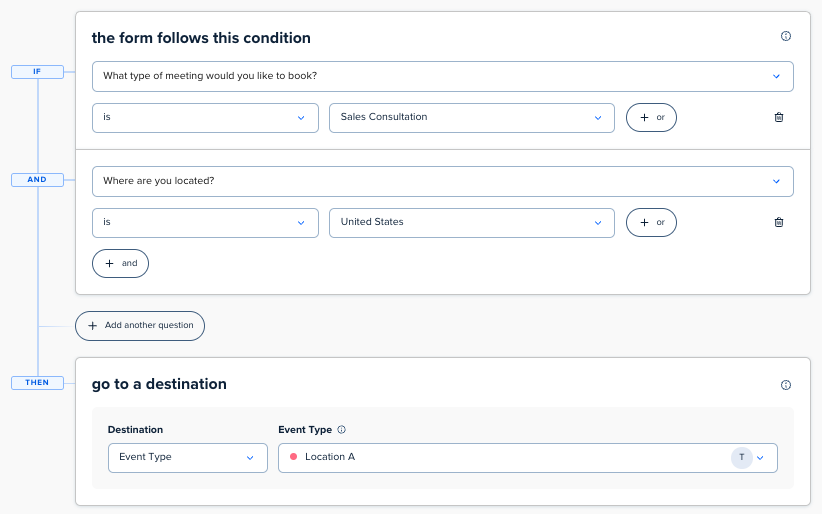
But we also want to ensure we include what location they chose, so select the (+ and) option to attach another question to the logic:
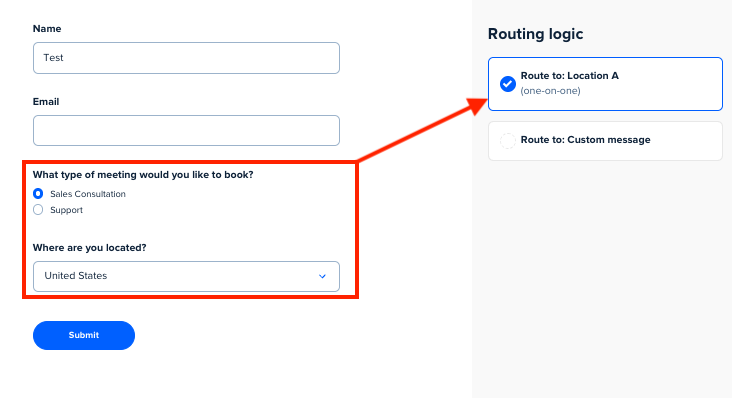
So now the logic sounds like: If “What type of meeting would you like to book” is set to Sales Consultation, AND “Where are you located” is set to United States, route them to Location A.
- Now once you add your logic, you can test it by using the Preview Form button:
Because of the logic I added, now you can see that if they meet the criteria, they’ll be routed correctly:
From here, you’ll just add in the rest of the logic you want to form to follow and you’ll be good to go!
Do you have any unique ways you like to utilize Routing Forms? Let us know! We always love hearing cool use-cases across the product.
FAQ:
Q. Can I pre-populate fields in the Routing Form if I’ve already collected the information before?
A. Yes you can! You can follow the steps here: How to pre-populate invitee answers in routing forms
Q. How do they return to the beginning of the routing form if they misclicked something?
A. Users can select the back button on their web browser to return to the routing form.