Hey CalPals! 👋
Looking to streamline your scheduling and keep your team in the loop, automatically? With the Calendly + Slack integration via Zapier, you can do just that.
Whether you're managing interviews, demos, or client calls, this simple automation ensures that every new meeting instantly triggers a Slack notification, so no one misses a beat. In this guide, we’ll walk you through how to set it all up in minutes, no coding, no stress.
Who can use this?
Any user on any of our paid plans can use the Zapier integration.
Before setting this up, make sure you have:
- A Zapier account
- A connected Calendly account
- A connected Slack workspace
This integration helps eliminate manual updates and ensures everyone stays informed in real time. Ready to start? Lets jump in!
First, we’ll need to connect both applications to Zapier
Create your Zapier account and head over to this link to connect both Calendly and Slack to Zapier: https://zapier.com/apps/calendly/integrations/slack
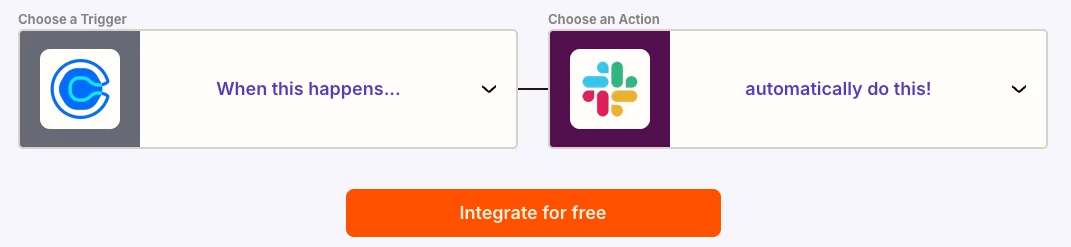
Once they’re both connected, start creating your first Zap!
Want to skip a few steps?
Use Zapiers Co-Pilot to simplify the setup, you can use one of these AI Prompts to make the process faster:
For all Events:
When an Invitee is created in Calendly, send a message to a slack channel
For Specific events:
When an invitee is created in Calendly, send a message to a slack channel. Add a filter step in between so it only triggers for specific events
- Go to your Zapier home page, and select Zap under Start from Scratch:
- Set Calendly as the action and Choose the trigger event:
“Invitee Created” – This fires every time someone schedules a meeting with you via Calendly.
- Connect your Calendly account and test the trigger to make sure data is coming through.


Next, set Slack as the Action App
- Search for Slack and select it as your Action App.
- Set the Action Event to Send Channel Message or Send Direct Message depending on where you want the notification to go.
- Connect your Slack workspace.
- Choose the Slack channel or user to notify.
- Test the Slack action to confirm the message appears as expected.

Finally, turn on and test your new Zap
Schedule a meeting with yourself to make sure the message is sent correctly.
From this point on, every time a new Calendly event is booked, Slack will automatically send a notification to your selected recipient.
FAQ:
Q. Can i set this up so it only triggers for one event?
A. Yes! If you only want to notify your team for specific types of meetings (e.g., interviews or demos), use Zapier’s Filter tool:
-
After the trigger, add a Filter step.
-
Set conditions like “Event Name contains ‘Interview’”.
-
Only events matching your criteria will trigger the Slack message.
Q. If I’m having a problem with one of my Zaps, who should I reach out to?
A. If you have trouble with your Zap, or seeing any errors within Zapier, we recommend reaching out to Zapier support here: https://help.zapier.com/hc/en-us