This article is a deeper dive on some of the changes we’ve made to our Event Type Editor. This is part of a broader suite of feature changes to your Calendly experience. User feedback was that folks were having trouble visualizing how individual Calendly settings were working together to define availability. It can get confusing when you have both a set schedule as well as different free/busy rules in specific event types all interacting. This redesign is aimed to make Calendly both faster to use and more intuitive. For more on all the changes, check out this article - Availability and Events Simplified
Also, be sure to check out our help center article for more details - Easier Scheduling with Calendly’s Updates!
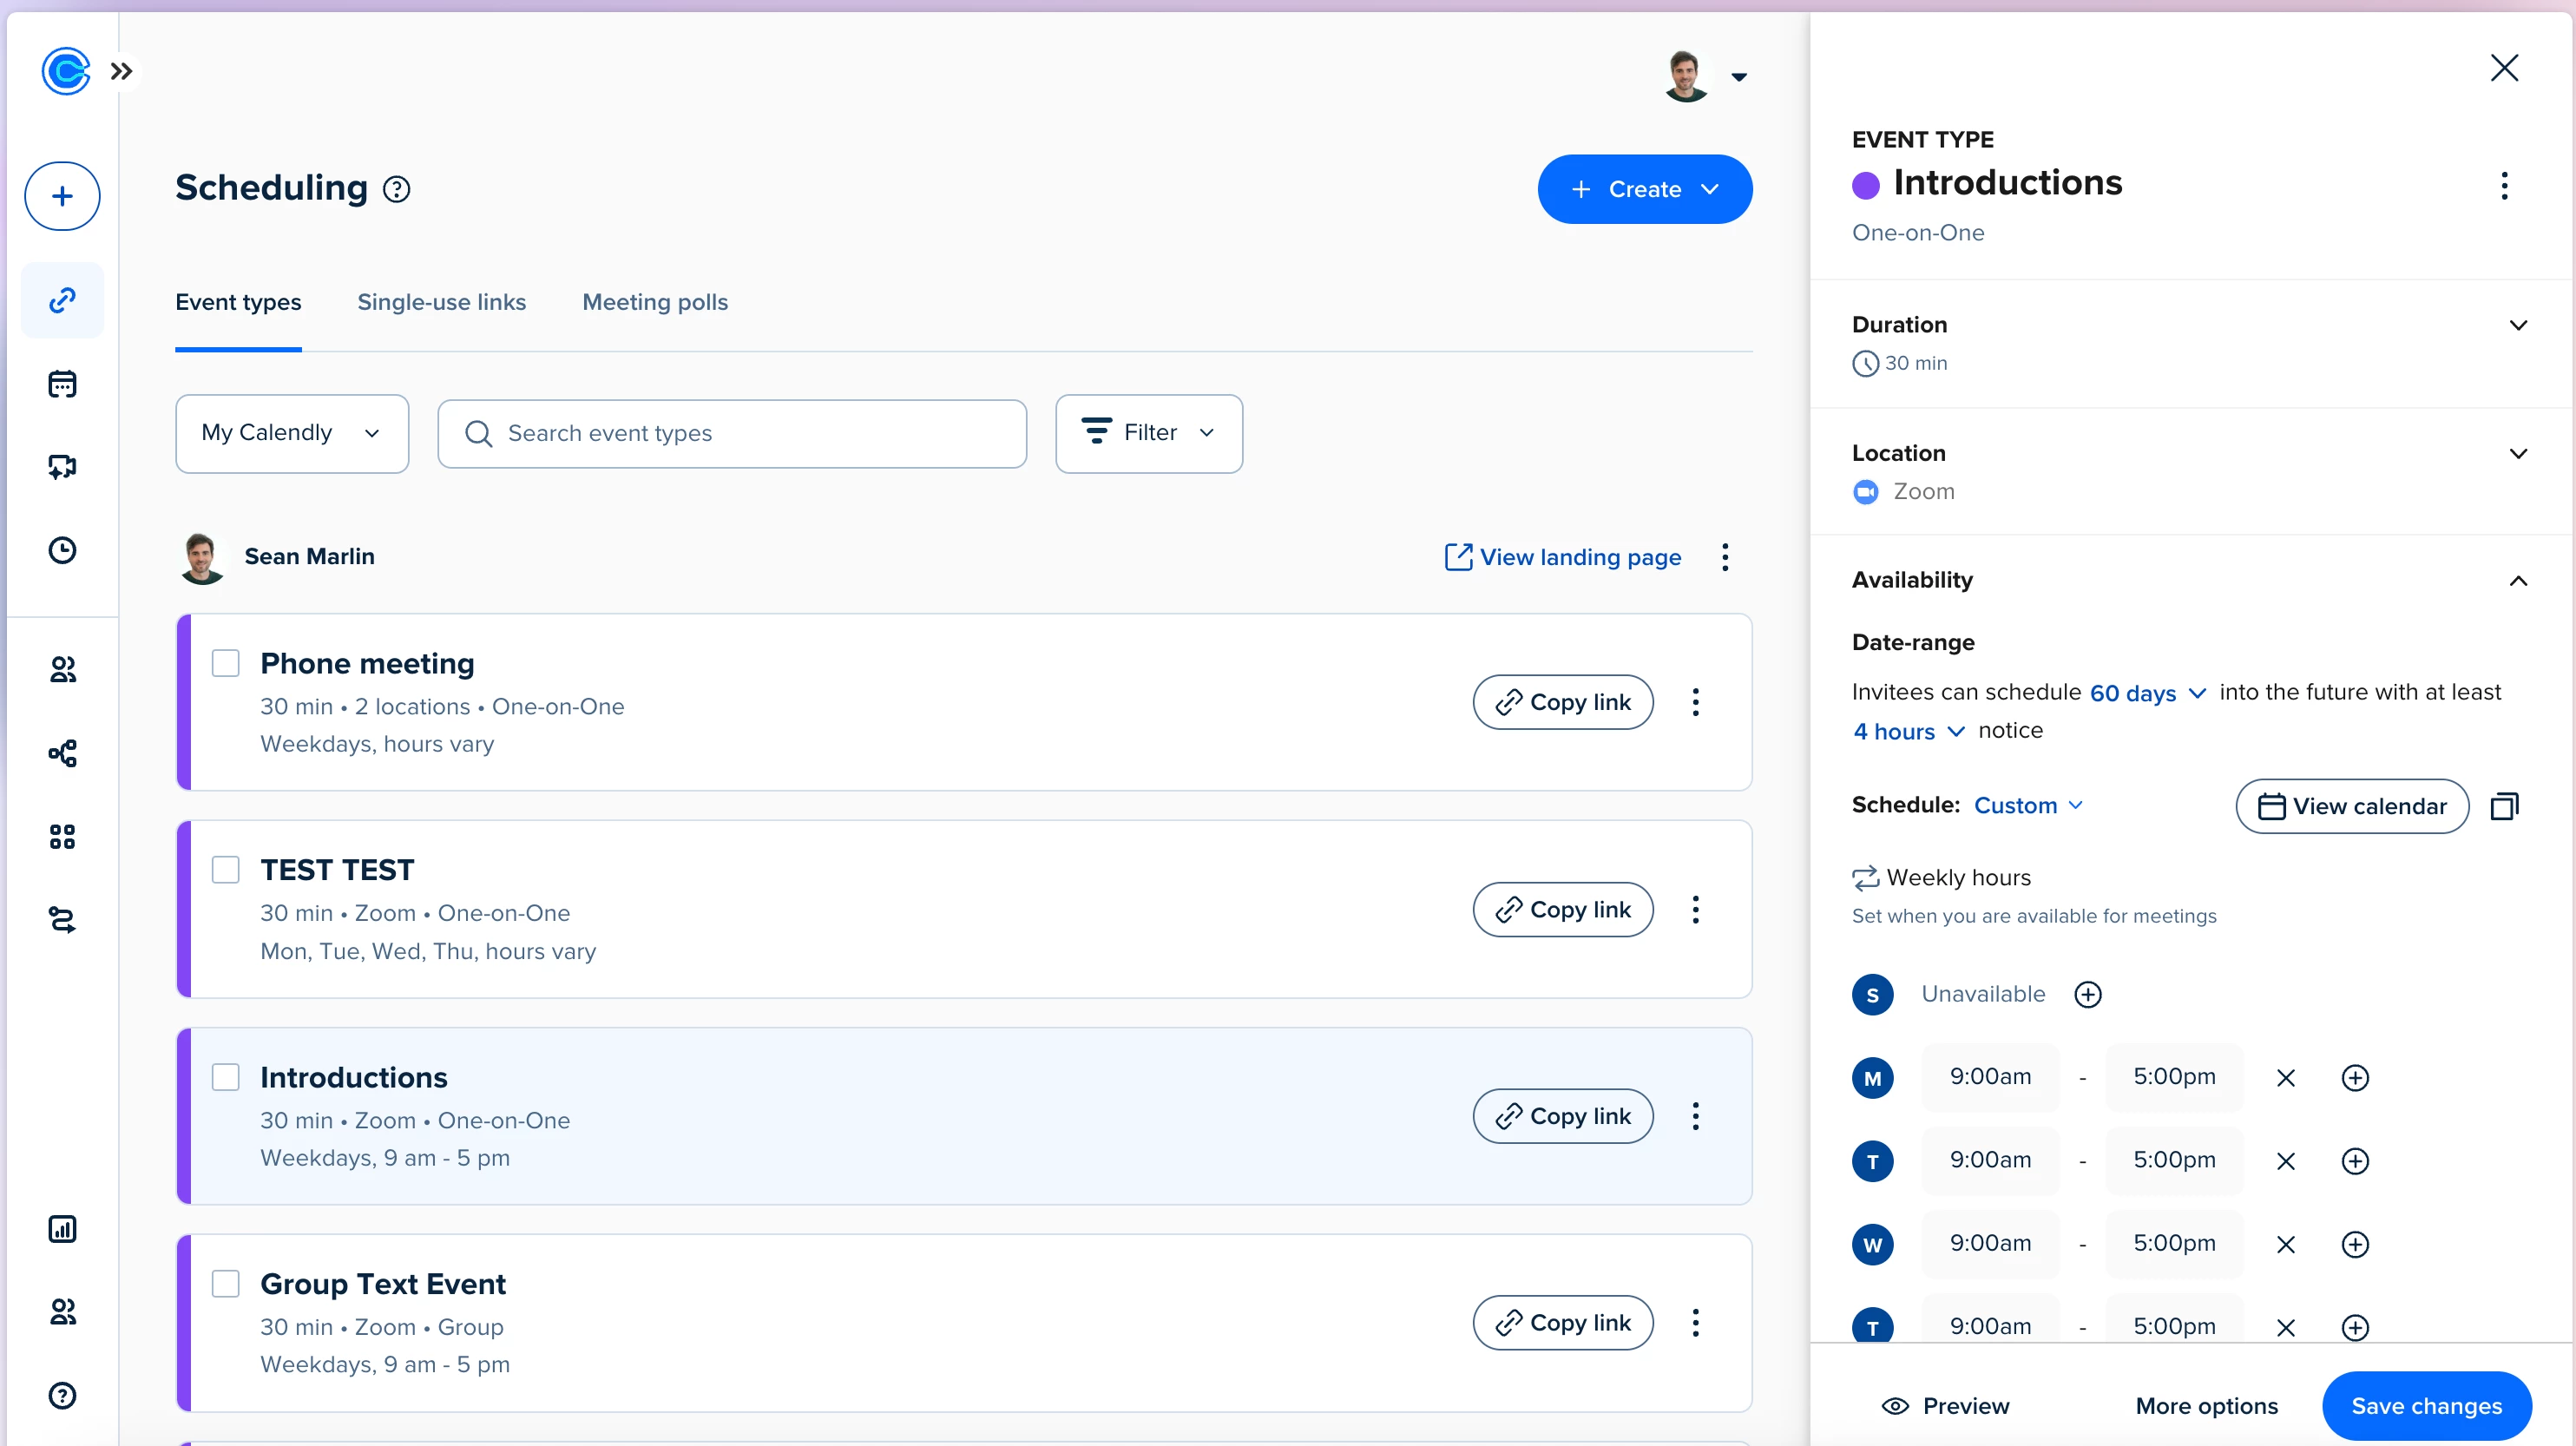
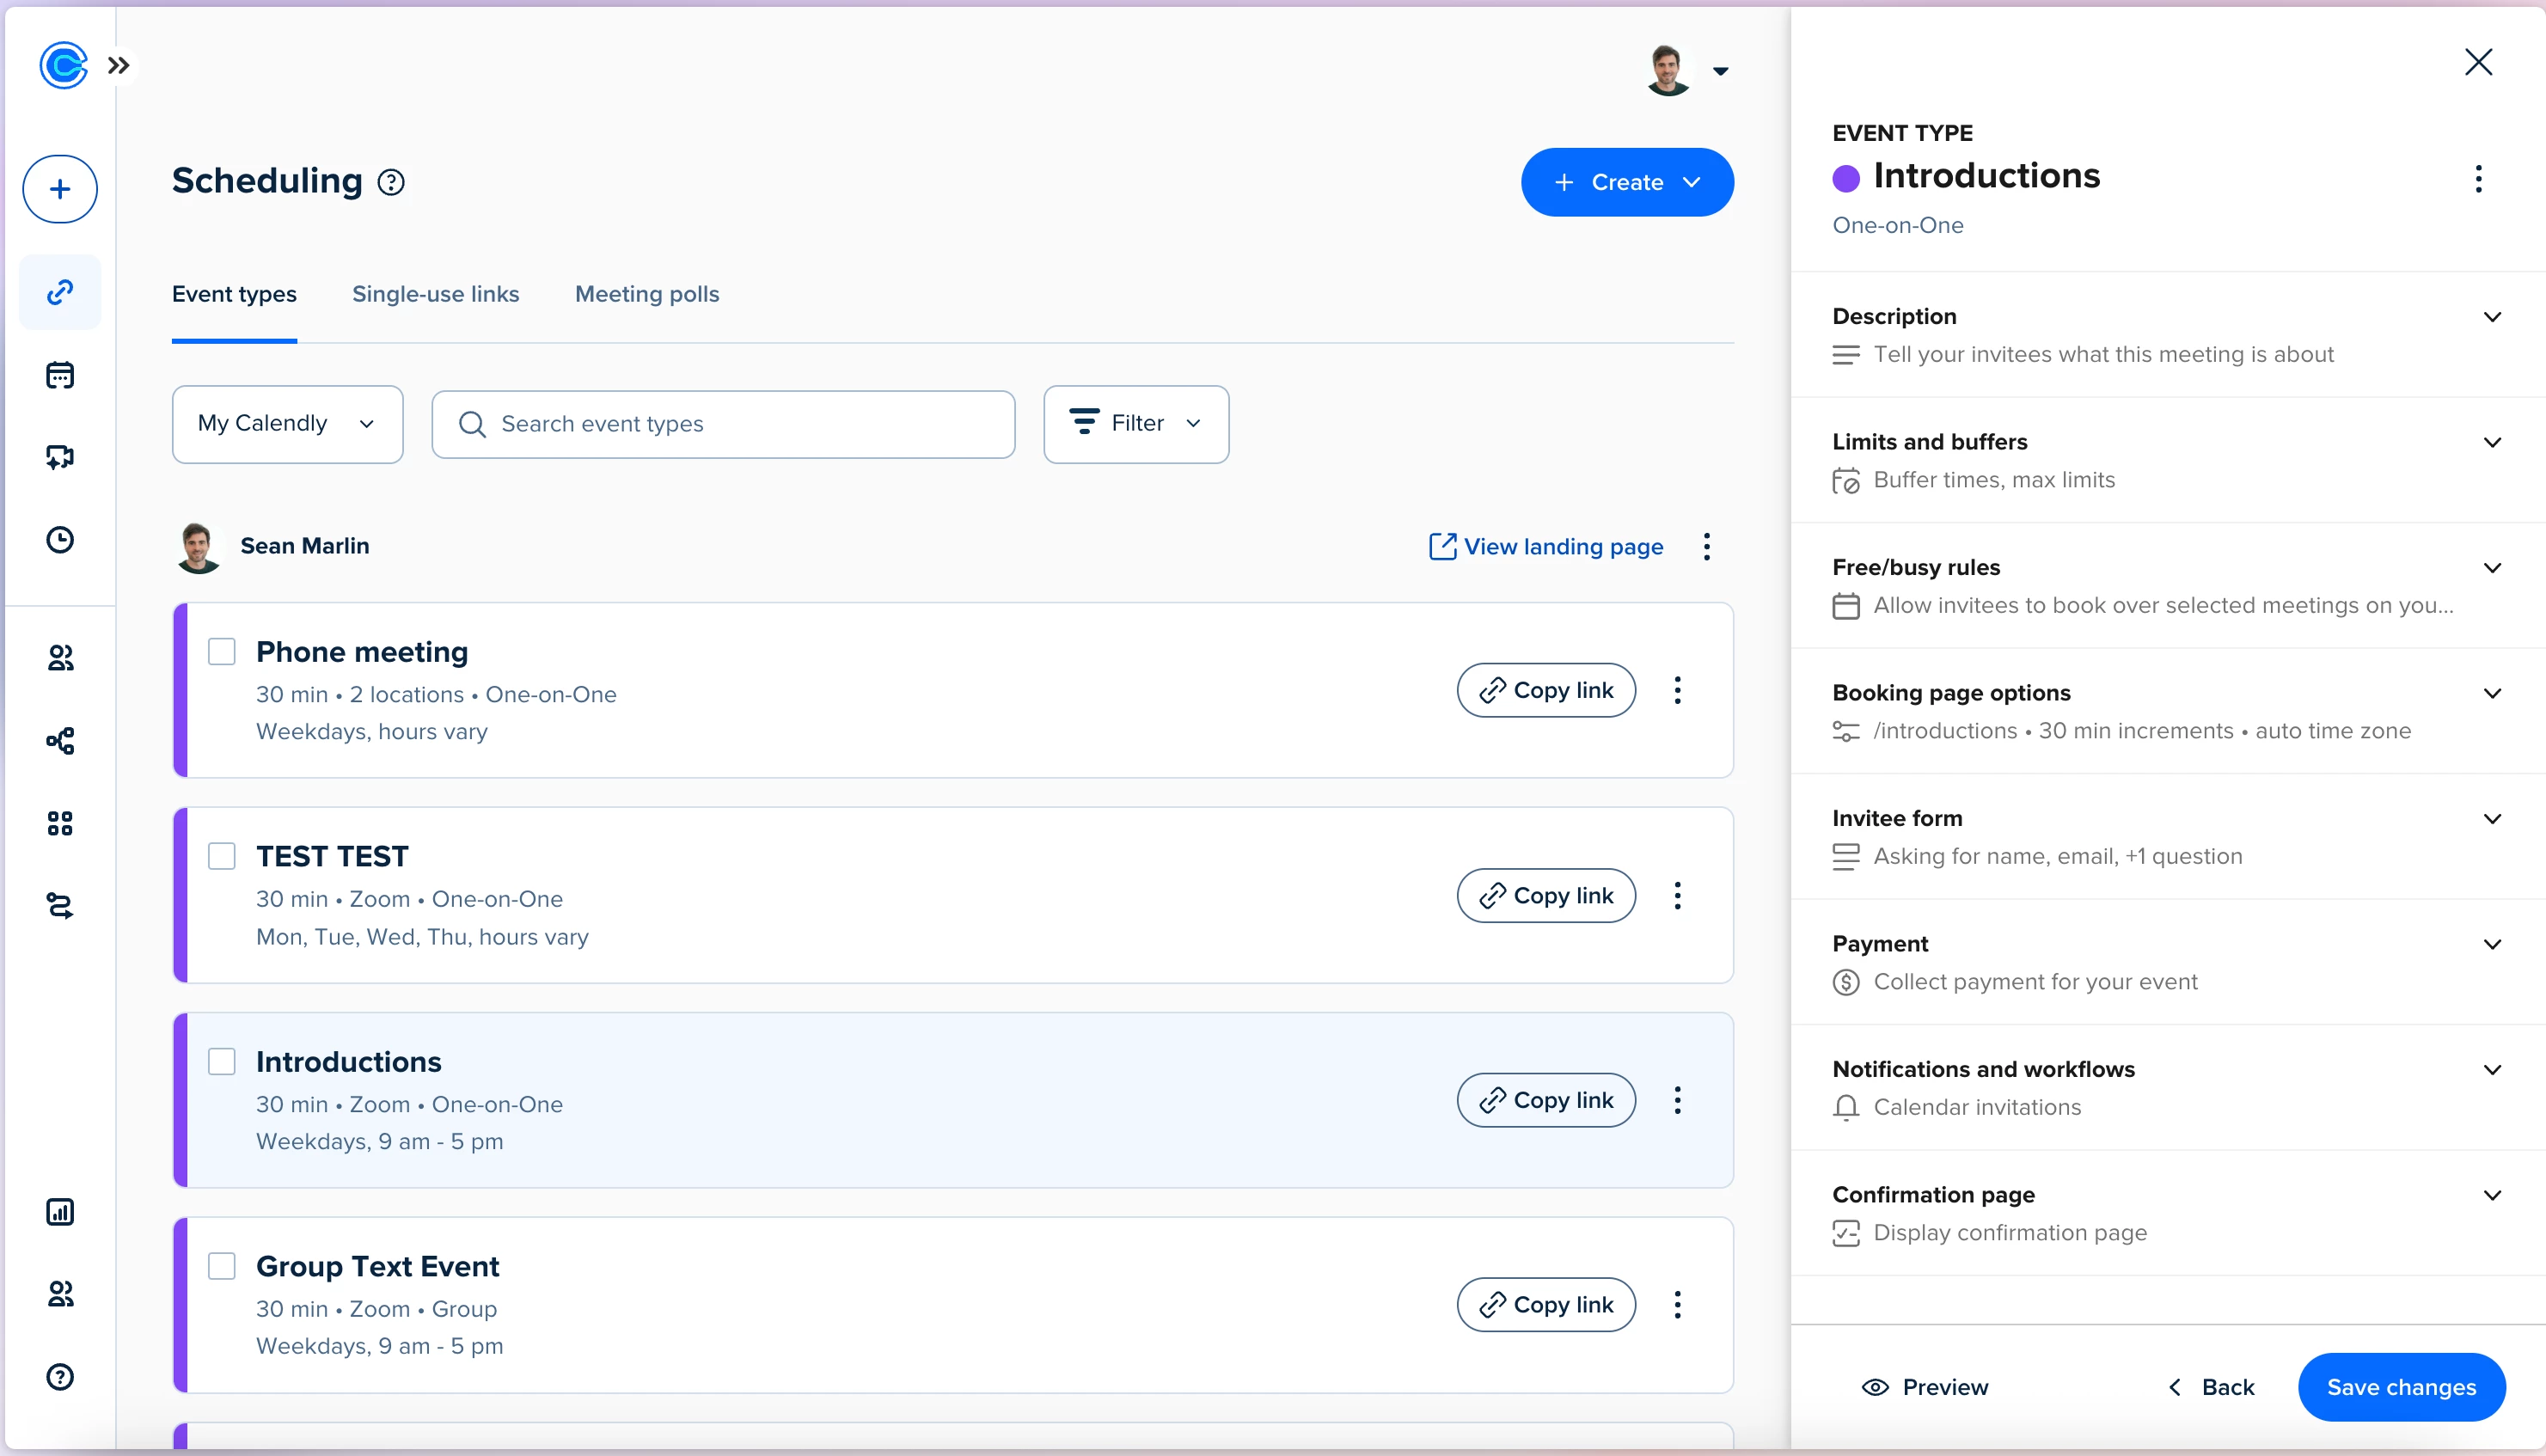
Let’s take a look at how Event Type editing has been simplified. Previously you were directed to a new screen to edit your Event Types. Now, your editor will pop out as a “rail” on the right hand side of your screen. The Event Type Editor is a tool used to create and update event types, allowing you to customize your meeting settings, set availability, and configure automated notifications. Your Schedules can be applied here. You also have the option to customize your hours for those hours for your Event Type and apply them to other Event Types. You will have both the option to look at your event schedules as a list or in a calendar view.
Level One

| For your new event, level one is where you will outline the:
Once completed you can either preview your booking page or click “more options” for level two. |
Level Two

| Level two is dedicated to editing other details including:
These sections can all be expanded by clicking the carrot next to each section title |

